A strong bathroom remodel is more than new tile. These ideas focus on layout, waterproofing, lighting, storage, and finishes that look modern and work every day.
- Start With a Better Vanity Wall
- Move Plumbing Only When It Solves a Real Problem
- Convert a Tub Alcove Into a Walk-In Shower
- Keep One Bathtub If the Home Needs It
- Use a Wall-Hung Toilet to Save Visual Space
- Add a Pocket Door Where Swing Space Is Wasted
- Run Tile to the Ceiling in the Shower
- Frame a Shower Bench Properly
- Choose Slip-Resistant Floor Tile
- Use a Linear Drain Only With the Right Slope
- Build Niches Around Real Bottle Sizes
- Add a Medicine Cabinet That Looks Like a Mirror
- Create a Dedicated Makeup or Grooming Drawer
- Use Two Smaller Mirrors Instead of One Huge Sheet
- Replace Builder Lighting With Layered Fixtures
- Add Under-Vanity Night Lighting
- Upgrade Ventilation Before Finishes
- Use Waterproof Wall Panels in Hardworking Zones
- Mix Handmade Tile With Quiet Surfaces
- Choose a Realistic Grout Color
- Extend the Counter Into a Small Ledge
- Build Storage Between Wall Studs
- Add Tall Storage Beside the Vanity
- Use Open Shelves Sparingly
- Create a Towel Zone Near the Shower
- Use Hooks Where Bars Will Not Fit
- Add a Shower Shelf for Guests
- Choose a Freestanding Tub With Breathing Room
- Use a Tub Niche Instead of a Caddy
- Modernize a Shower-Tub Combo With Better Glass
- Use Black Accents Carefully
- Bring in Natural Wood Without Water Damage
- Use Plaster-Look Walls for Softness
- Install a Larger Mirror to Borrow Light
- Create Contrast With a Dark Vanity
- Choose a Quiet Patterned Floor
- Add Wainscot Tile Outside the Shower
- Upgrade the Toilet Area With a Half Wall
- Use a Clear Glass Shower to Expand Sight Lines
- Hide Outlets in Useful Places
- Plan for Aging Without a Clinical Look
- Use a Radiant Floor for Everyday Comfort
- Add a Laundry Hamper Cabinet
- Finish With Fewer Better Accessories
Start With a Better Vanity Wall
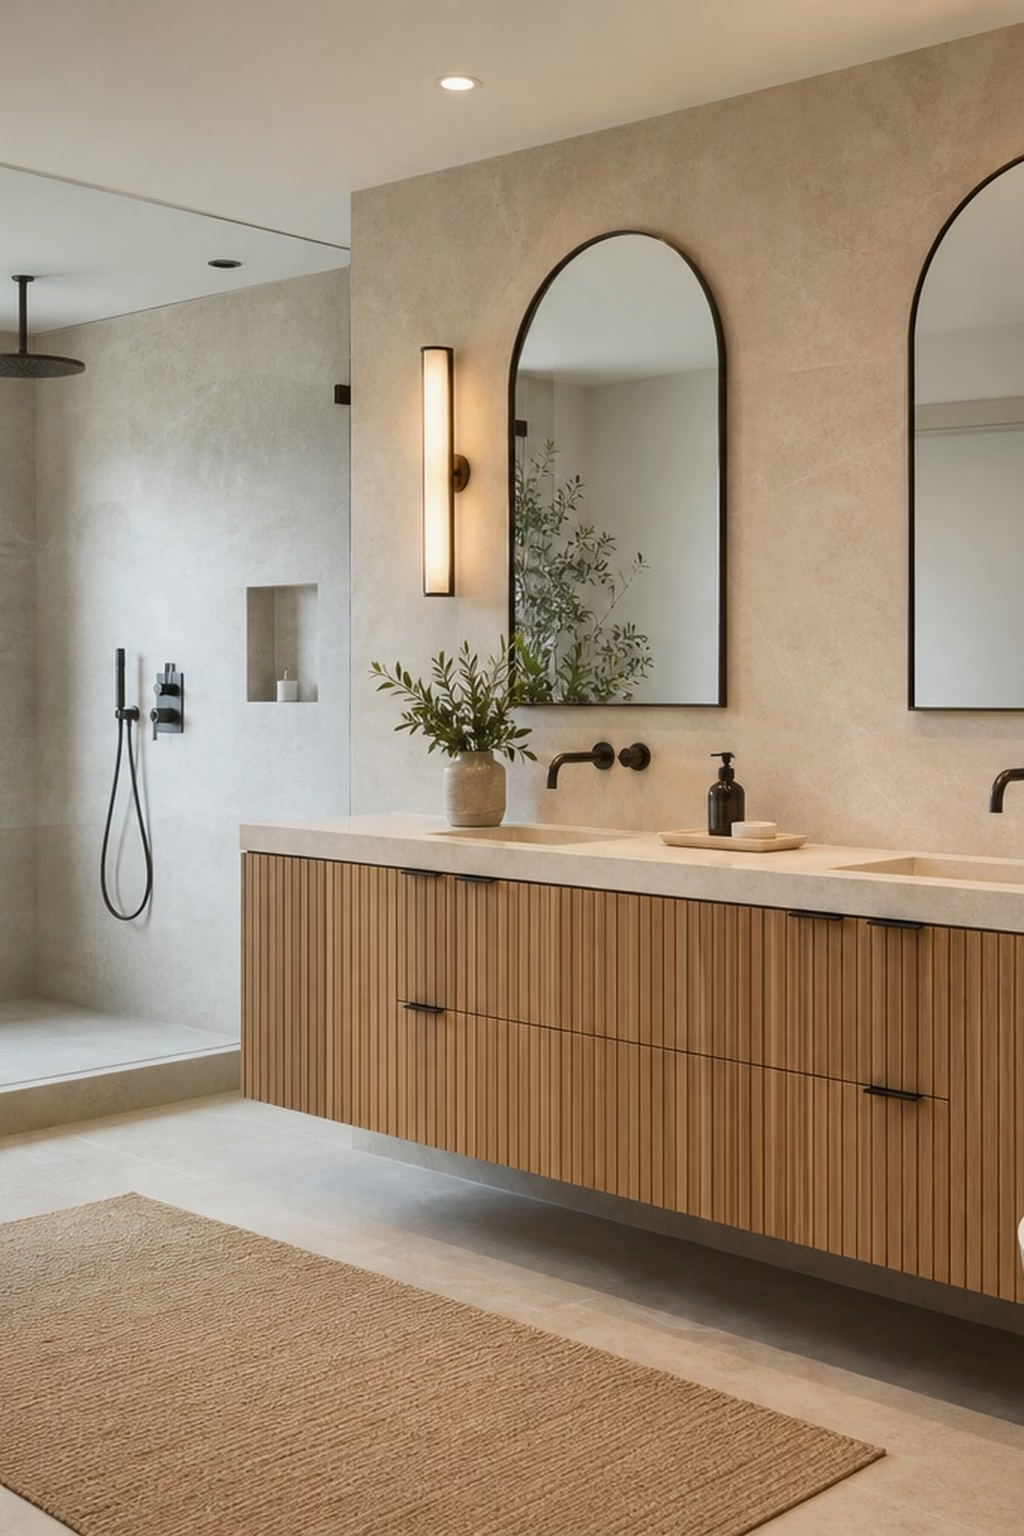
A remodel often improves fastest when the vanity wall is organized first. Start by deciding where this idea should work hardest: the vanity wall, shower zone, tub area, or storage run. Center the mirror, outlets, drawers, and lighting around how people actually get ready. Keep the finish palette tight so the room feels intentional rather than busy. Use moisture-resistant cabinetry, a durable counter, and hardware that can be gripped with wet hands. The detail succeeds when scale, cleaning, and daily use are considered before anything is ordered. Side sconces and a ceiling wash reduce shadows better than one harsh bar light. Add warm task lighting and one softer ambient layer so the surface still looks good at night. A clear vanity plan makes the rest of the bathroom feel custom instead of pieced together.

Move Plumbing Only When It Solves a Real Problem
Relocating plumbing can unlock a bathroom, but it should earn the cost. It works best when the remodel plan treats it as architecture, not a late decorative layer. Move the toilet, shower, or vanity only when it improves clearances, privacy, or storage. Measure clearances around the door swing, vanity drawers, shower glass, and towel bars before choosing the final size. Keep new walls thick enough for pipes, niches, valves, and sound control. Use durable finishes that can handle humidity without turning the bathroom into a showroom nobody wants to use. Good lighting helps reveal whether the revised layout actually feels more open. Natural light should be supported by dimmable fixtures, especially near the mirror. The smartest remodel spends money on movement and comfort before decorative upgrades.
Convert a Tub Alcove Into a Walk-In Shower
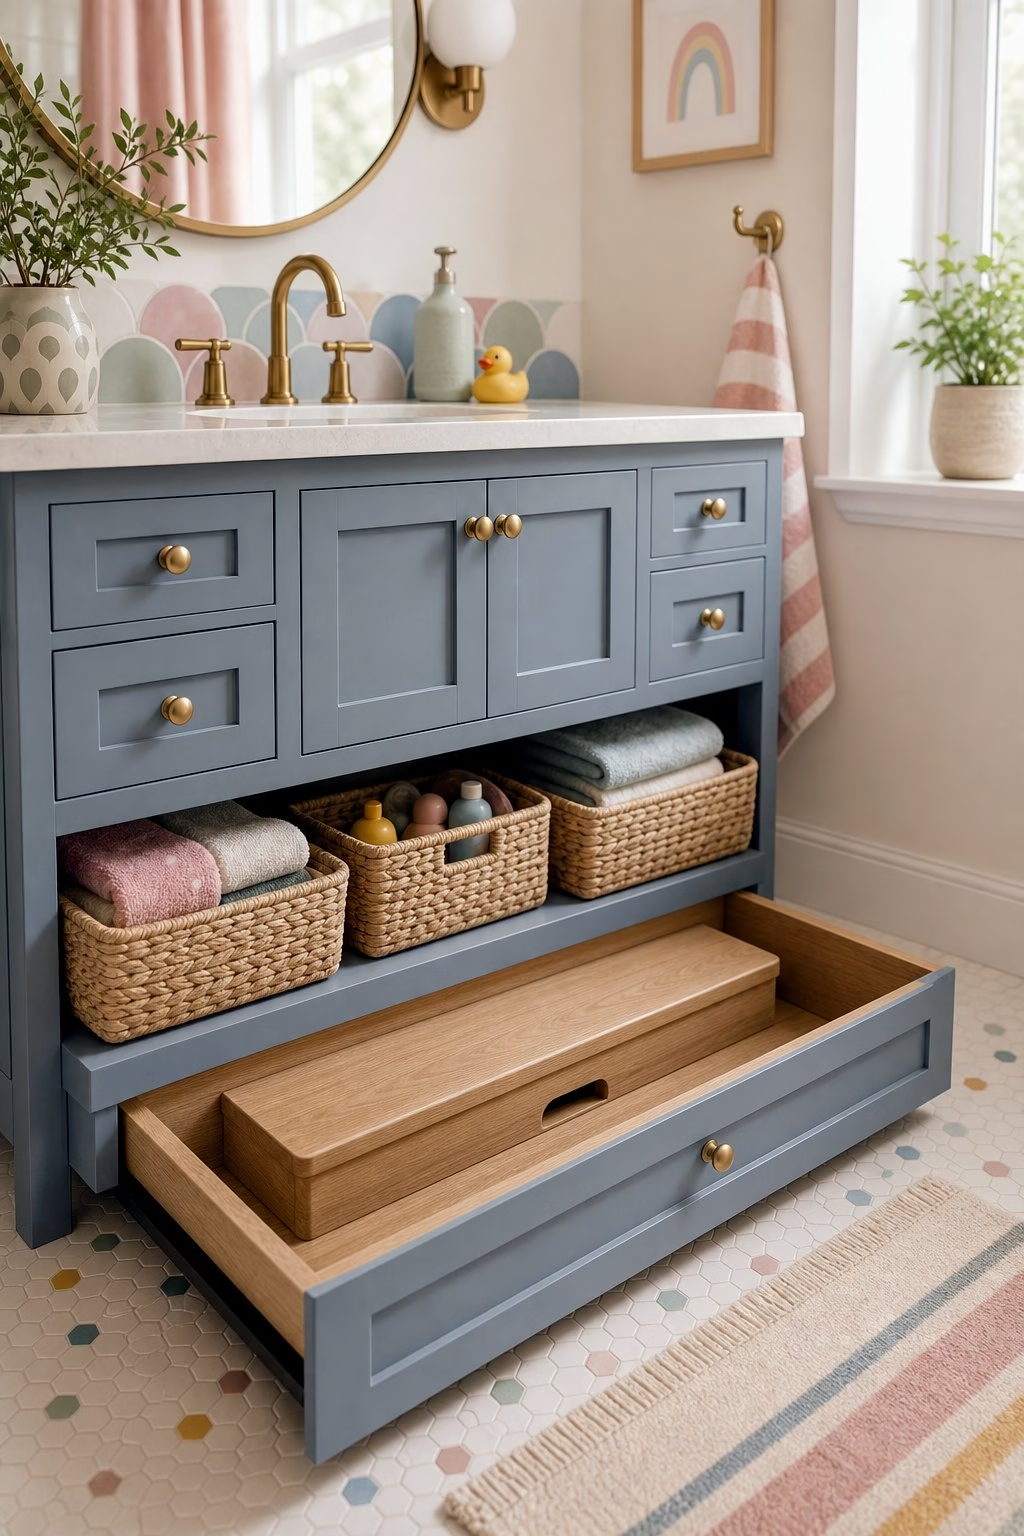
An unused tub alcove can become a generous shower with a more modern daily function. The smartest version is restrained, practical, and easy to maintain. Check drain location, waterproofing, glass width, and whether a bench or niche fits without crowding. Pair the visual move with hidden storage or a better traffic path so it improves the room after the photo moment is over. Large tile on the back wall can make the former alcove feel wider. Repeat one material from elsewhere in the bathroom to keep the composition connected. Add layered shower lighting so the deep end of the alcove does not feel dim. Soft shadows make the texture feel expensive, while harsh overhead light can flatten it. This remodel idea works when the new shower looks intentional, not just like a tub was removed.
Keep One Bathtub If the Home Needs It
Modern remodels do not always require removing every bathtub. Think of this as a way to make the bathroom feel calmer without stripping out personality. If the home serves children, guests, or resale expectations, keep one comfortable tub in the plan. Choose proportions that suit the room instead of copying a large primary suite into a compact bath. Choose a simpler apron tub, compact freestanding tub, or shower-tub combo with better tile detailing. The finish should meet the floor, trim, and countertop cleanly, with no awkward slivers or abrupt transitions. A wall wash or window light can make even a practical tub feel calm. A sconce, recessed wash, or hidden strip can make the detail useful. The goal is a useful tub that feels integrated rather than leftover.
Use a Wall-Hung Toilet to Save Visual Space
A wall-hung toilet can make a tight remodel feel cleaner and easier to mop. Start by deciding where this idea should work hardest: the vanity wall, shower zone, tub area, or storage run. Confirm framing depth, carrier access, local code, and future service needs before committing. Keep the finish palette tight so the room feels intentional rather than busy. Pair it with quiet tile and a simple flush plate so the fixture does not draw too much attention. The detail succeeds when scale, cleaning, and daily use are considered before anything is ordered. Soft overhead light keeps the compact zone from feeling clinical. Add warm task lighting and one softer ambient layer so the surface still looks good at night. It is a good upgrade when every inch of floor matters.

Add a Pocket Door Where Swing Space Is Wasted
A door swing can quietly steal the best part of a small bathroom. It works best when the remodel plan treats it as architecture, not a late decorative layer. A pocket door or well-planned barn-style interior door can free space for storage or a wider vanity. Measure clearances around the door swing, vanity drawers, shower glass, and towel bars before choosing the final size. Use quality hardware and a solid slab so the door feels stable and private. Use durable finishes that can handle humidity without turning the bathroom into a showroom nobody wants to use. Light near the entry should make the opened room feel welcoming. Natural light should be supported by dimmable fixtures, especially near the mirror. This is a layout upgrade that can matter more than a new tile color.
Run Tile to the Ceiling in the Shower
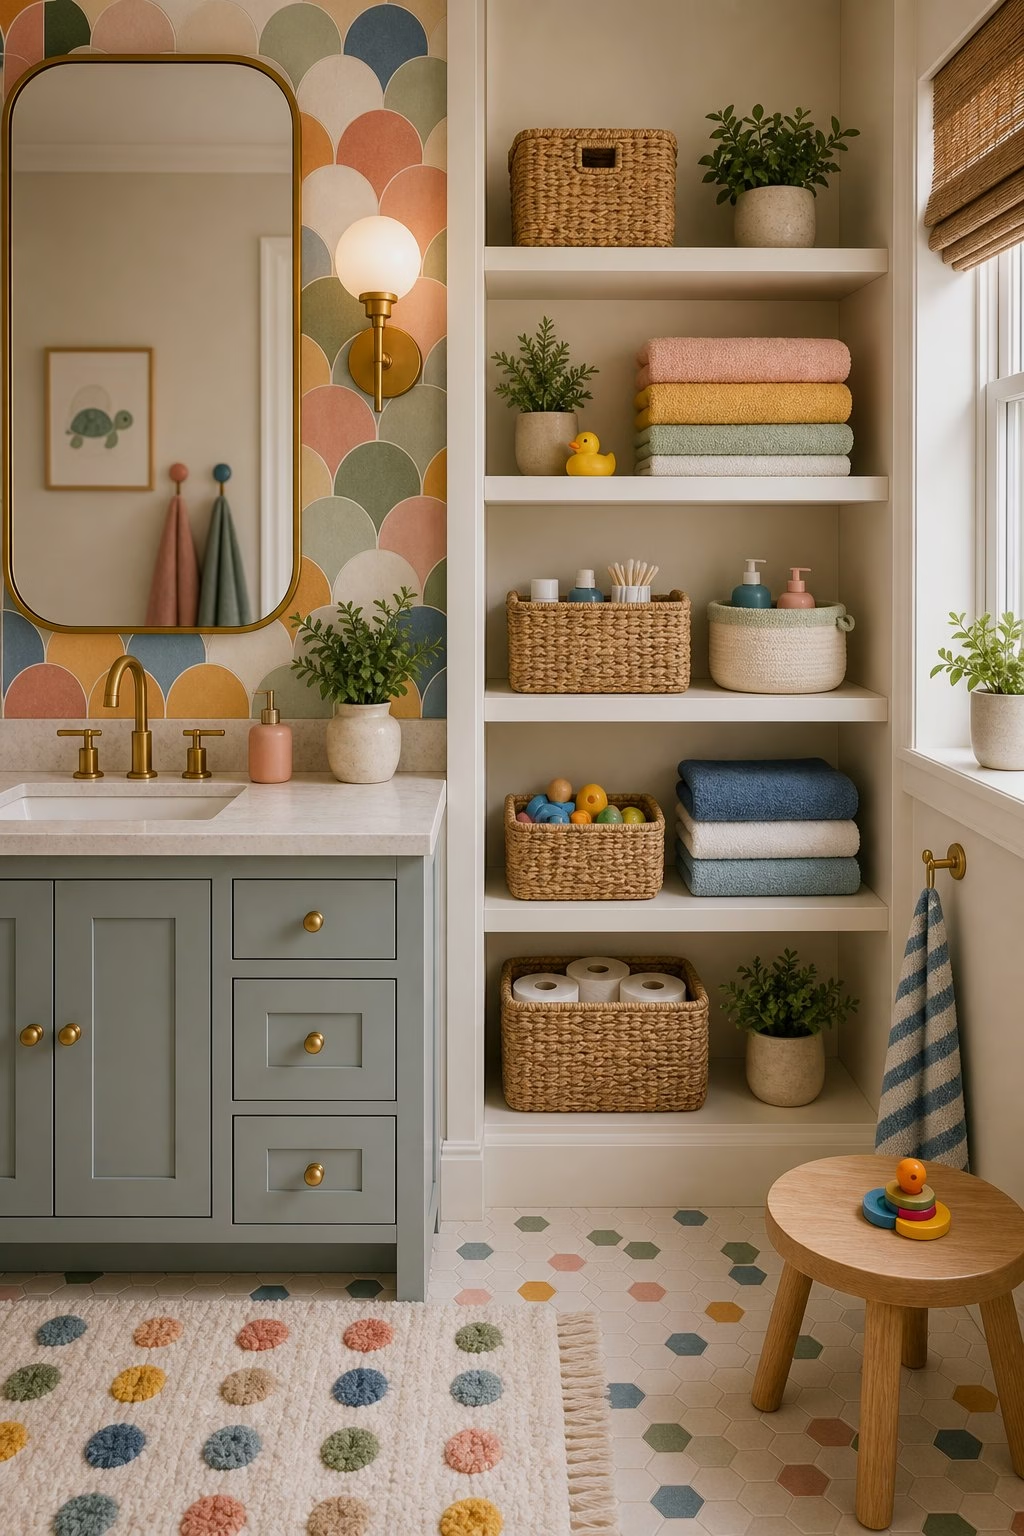
Ceiling-height shower tile makes a remodel feel finished and protects wet walls better. The smartest version is restrained, practical, and easy to maintain. Align tile courses with niches, glass, and ceiling edges before work begins. Pair the visual move with hidden storage or a better traffic path so it improves the room after the photo moment is over. Choose a tile that looks good in a large field rather than one that becomes busy overhead. Repeat one material from elsewhere in the bathroom to keep the composition connected. A recessed shower light helps the tall surface feel intentional. Soft shadows make the texture feel expensive, while harsh overhead light can flatten it. The room gains height and polish without adding extra decor.
Frame a Shower Bench Properly
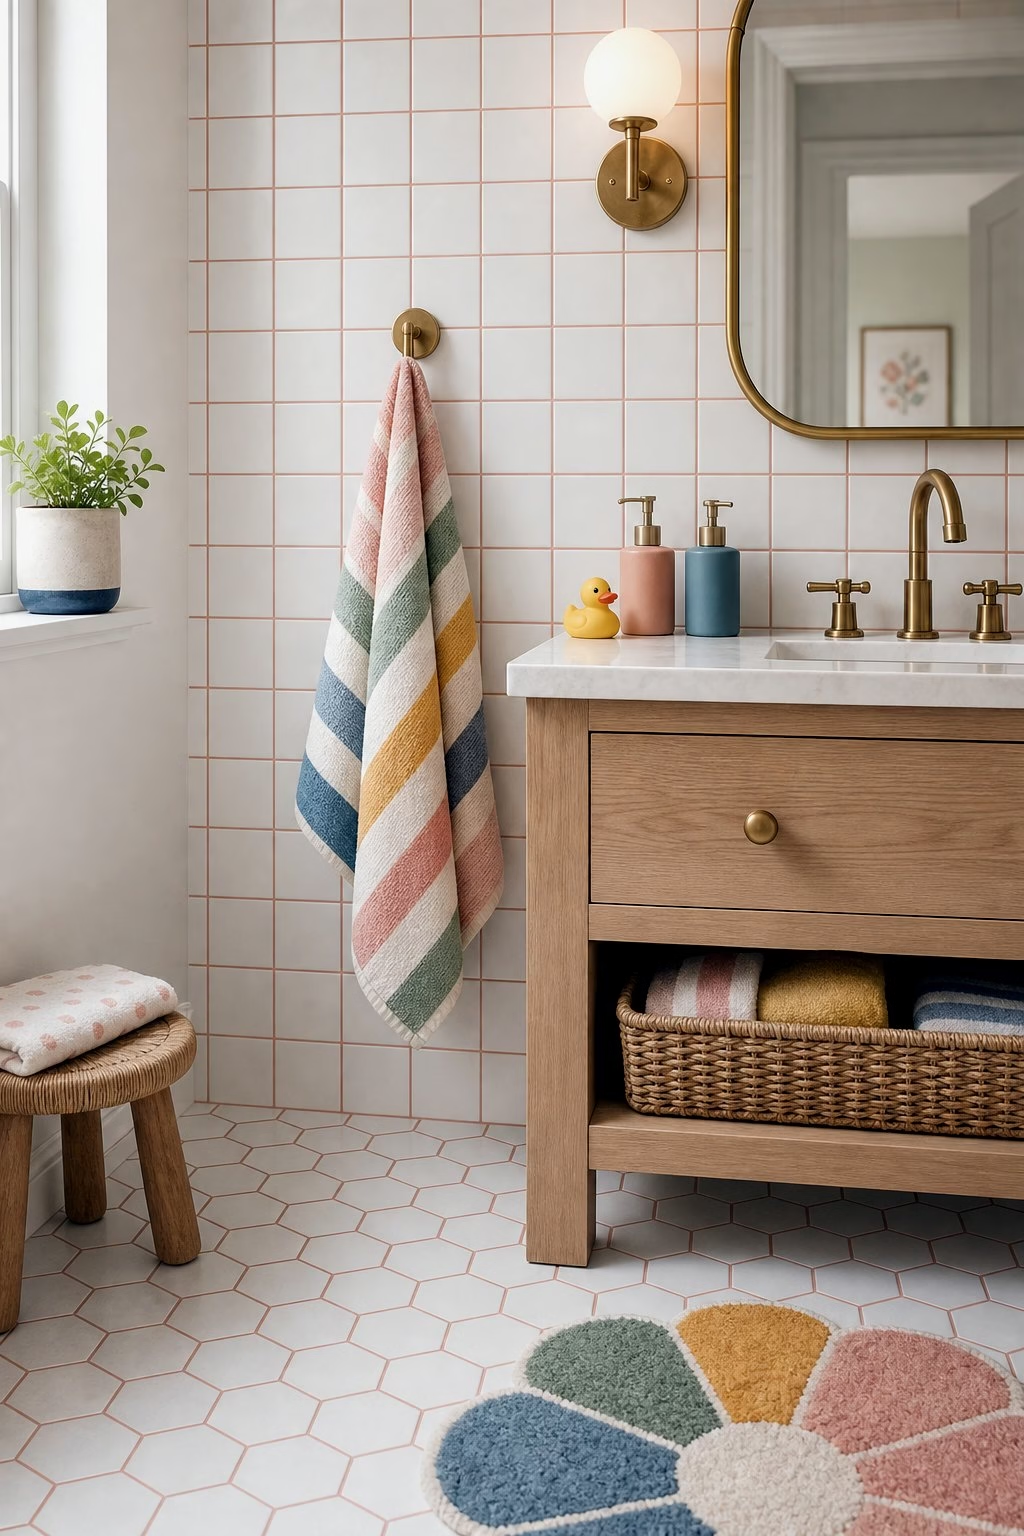
A shower bench is useful only when it is placed, sloped, and waterproofed correctly. Think of this as a way to make the bathroom feel calmer without stripping out personality. Decide whether it supports shaving, sitting, or storage before choosing the size. Choose proportions that suit the room instead of copying a large primary suite into a compact bath. Stone caps, solid-surface slabs, or tiled benches need clean edges and drainage. The finish should meet the floor, trim, and countertop cleanly, with no awkward slivers or abrupt transitions. A niche or downlight nearby makes the bench feel built into the plan. A sconce, recessed wash, or hidden strip can make the detail useful. When proportioned well, it adds comfort without stealing too much shower floor.
Choose Slip-Resistant Floor Tile
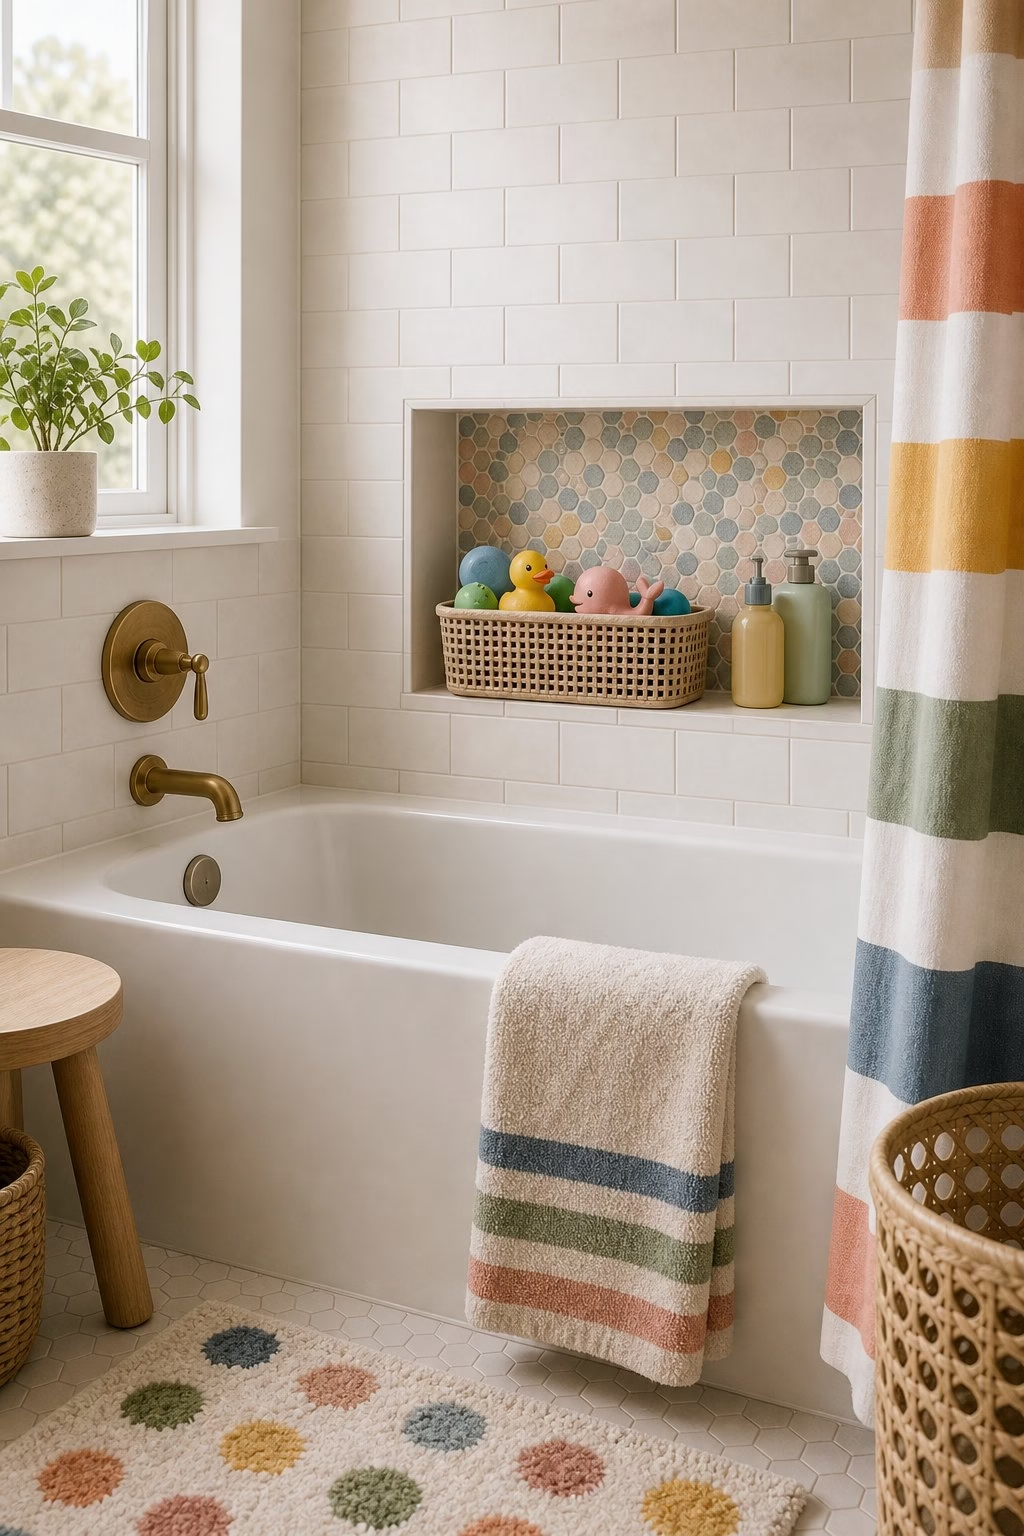
Bathroom floors need traction before trend value. Start by deciding where this idea should work hardest: the vanity wall, shower zone, tub area, or storage run. Look for tile ratings, grout texture, and realistic cleaning needs, especially in wet rooms. Keep the finish palette tight so the room feels intentional rather than busy. Smaller mosaics, textured porcelain, and honed stone can all work if they connect to the wall palette. The detail succeeds when scale, cleaning, and daily use are considered before anything is ordered. Even light across the floor helps reveal water and edges. Add warm task lighting and one softer ambient layer so the surface still looks good at night. A beautiful remodel should still feel safe when someone steps out of the shower.

Use a Linear Drain Only With the Right Slope
Linear drains look minimal, but they require careful planning. It works best when the remodel plan treats it as architecture, not a late decorative layer. Place the drain where water naturally moves and where the tile layout can slope cleanly. Measure clearances around the door swing, vanity drawers, shower glass, and towel bars before choosing the final size. Large-format floor tile often works better with a single-plane slope than a center drain. Use durable finishes that can handle humidity without turning the bathroom into a showroom nobody wants to use. Good shower lighting makes the drain detail visible without highlighting every water spot. Natural light should be supported by dimmable fixtures, especially near the mirror. The detail feels luxurious when it performs quietly.
Build Niches Around Real Bottle Sizes
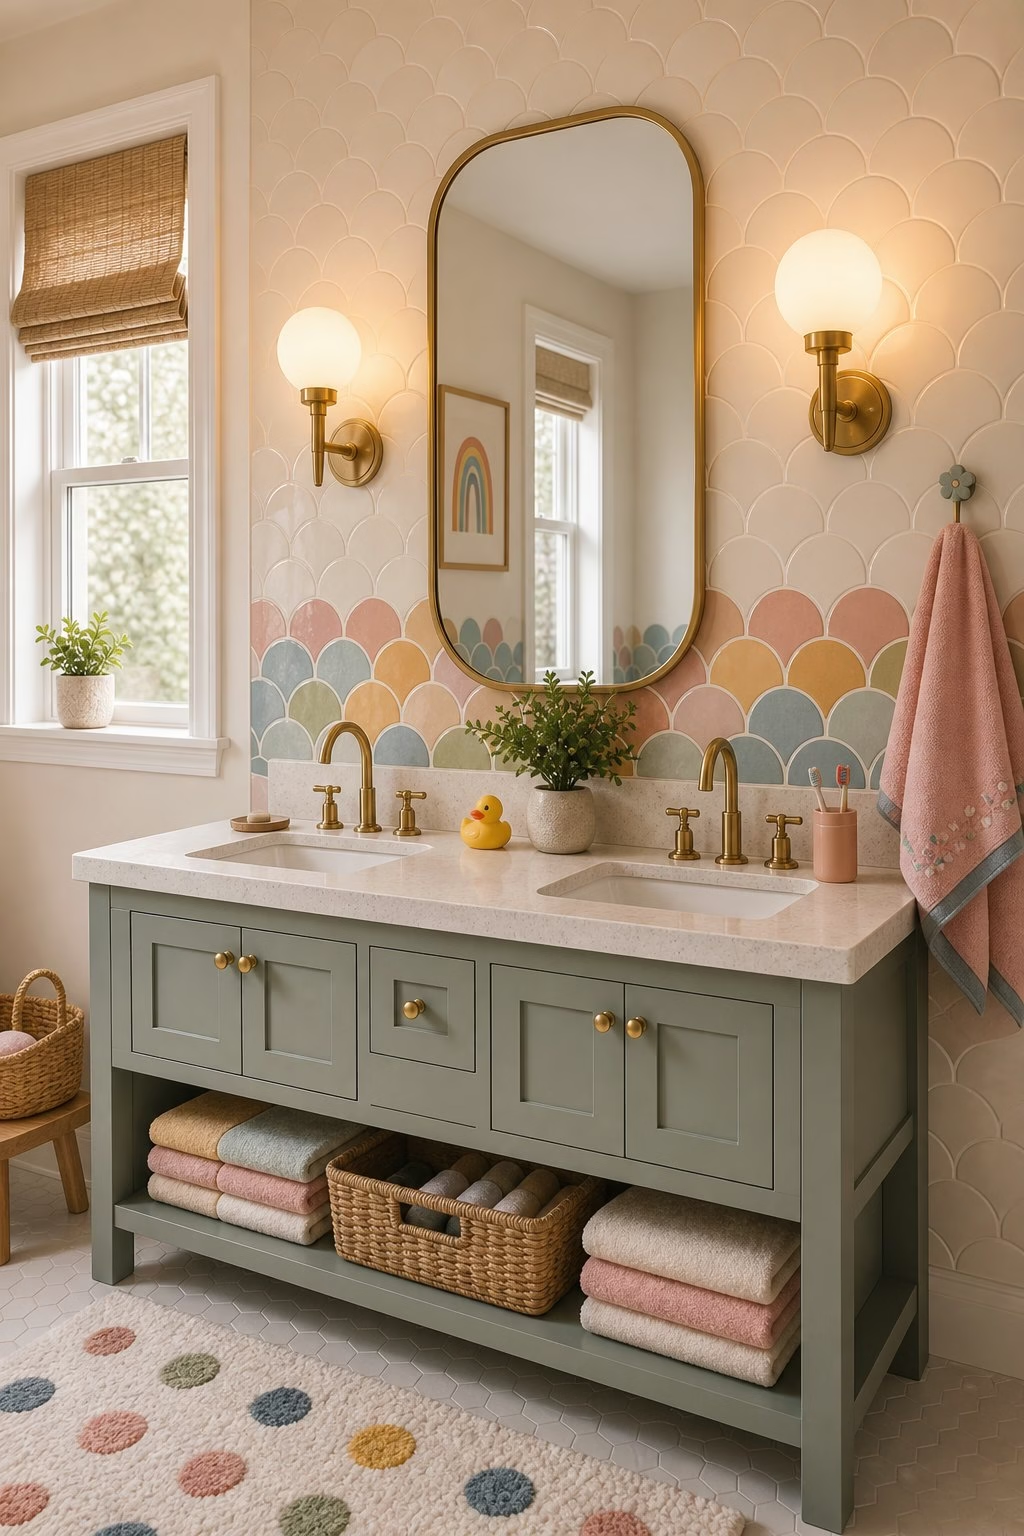
A shower niche should be designed from real measurements, not a generic rectangle. The smartest version is restrained, practical, and easy to maintain. Measure tall shampoo bottles, soap, razors, and shared products before framing. Pair the visual move with hidden storage or a better traffic path so it improves the room after the photo moment is over. Match the shelf material to the tile or use a solid stone base that drains easily. Repeat one material from elsewhere in the bathroom to keep the composition connected. A small waterproof light can make the niche practical in deeper showers. Soft shadows make the texture feel expensive, while harsh overhead light can flatten it. This prevents the common remodel mistake of adding storage that still does not fit daily life.

Add a Medicine Cabinet That Looks Like a Mirror
Recessed medicine cabinets have become cleaner and more attractive. Think of this as a way to make the bathroom feel calmer without stripping out personality. Use one where daily grooming items need to be close but not visible on the counter. Choose proportions that suit the room instead of copying a large primary suite into a compact bath. Choose mirrored doors with slim edges, interior outlets, and shelves that adjust. The finish should meet the floor, trim, and countertop cleanly, with no awkward slivers or abrupt transitions. Side sconces should still land at the right height beside the cabinet. A sconce, recessed wash, or hidden strip can make the detail useful. The bathroom stays calmer when small necessities have a shallow, hidden home.
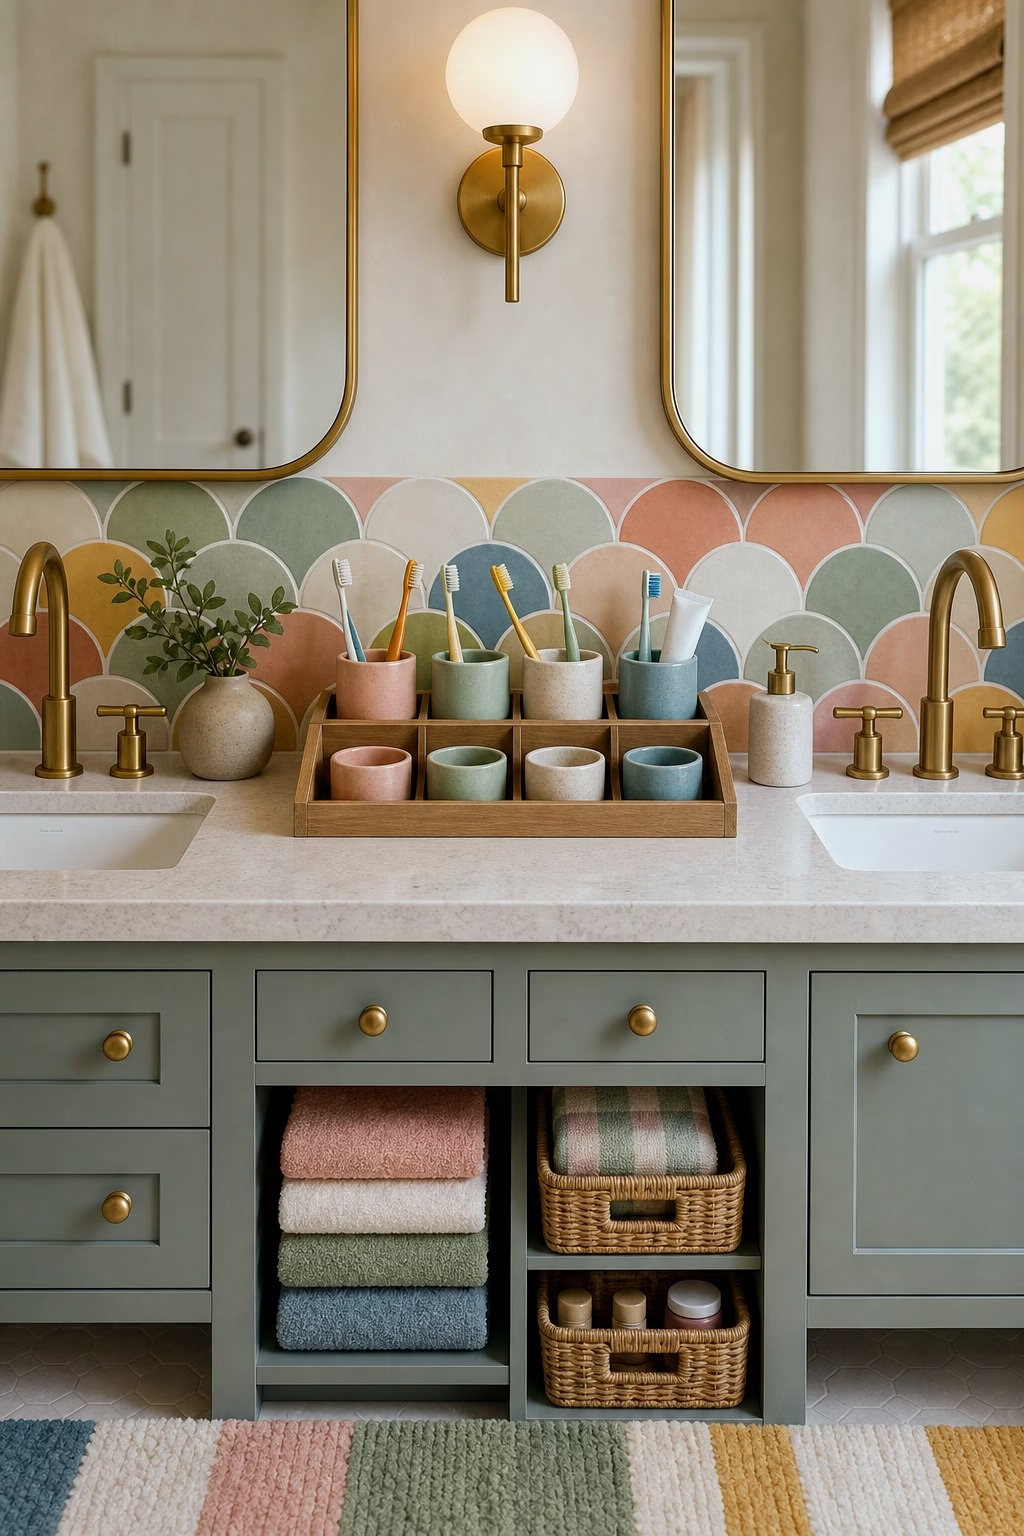
Create a Dedicated Makeup or Grooming Drawer
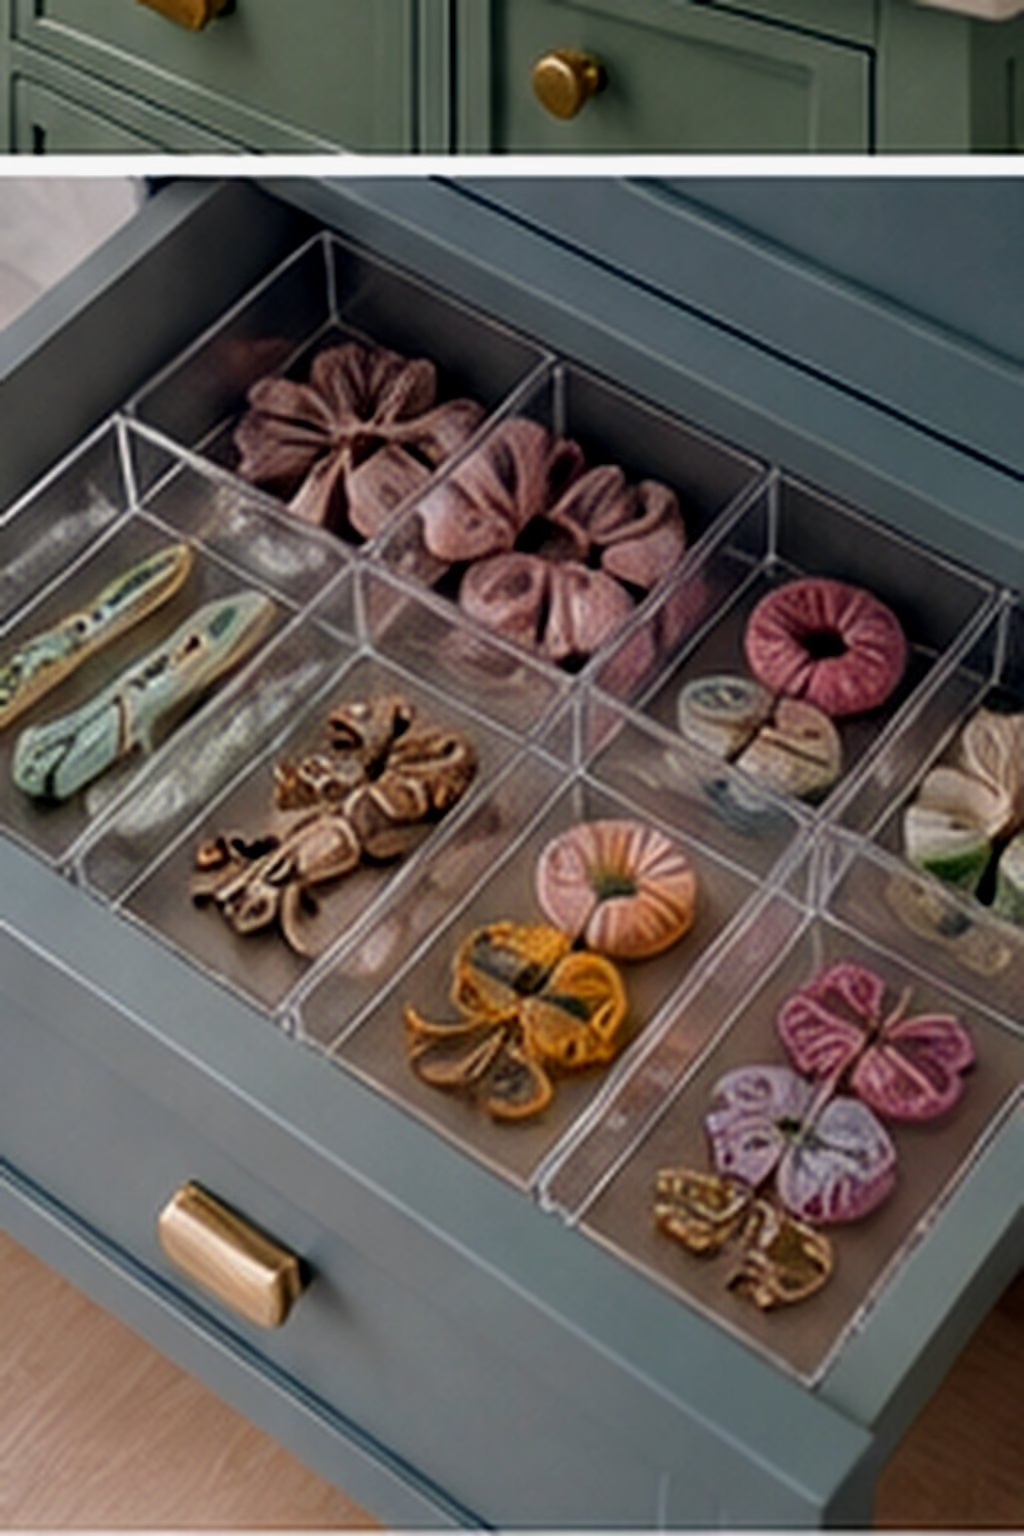
A remodel can reduce clutter by giving small tools a drawer built for them. Start by deciding where this idea should work hardest: the vanity wall, shower zone, tub area, or storage run. Include outlets, heat-safe compartments, dividers, and a landing space near the mirror. Keep the finish palette tight so the room feels intentional rather than busy. Use wipeable inserts and durable drawer glides because this zone gets daily wear. The detail succeeds when scale, cleaning, and daily use are considered before anything is ordered. Task lighting should reach the face without casting deep shadows. Add warm task lighting and one softer ambient layer so the surface still looks good at night. The counter looks cleaner because the routine is supported instead of hidden awkwardly.

Use Two Smaller Mirrors Instead of One Huge Sheet
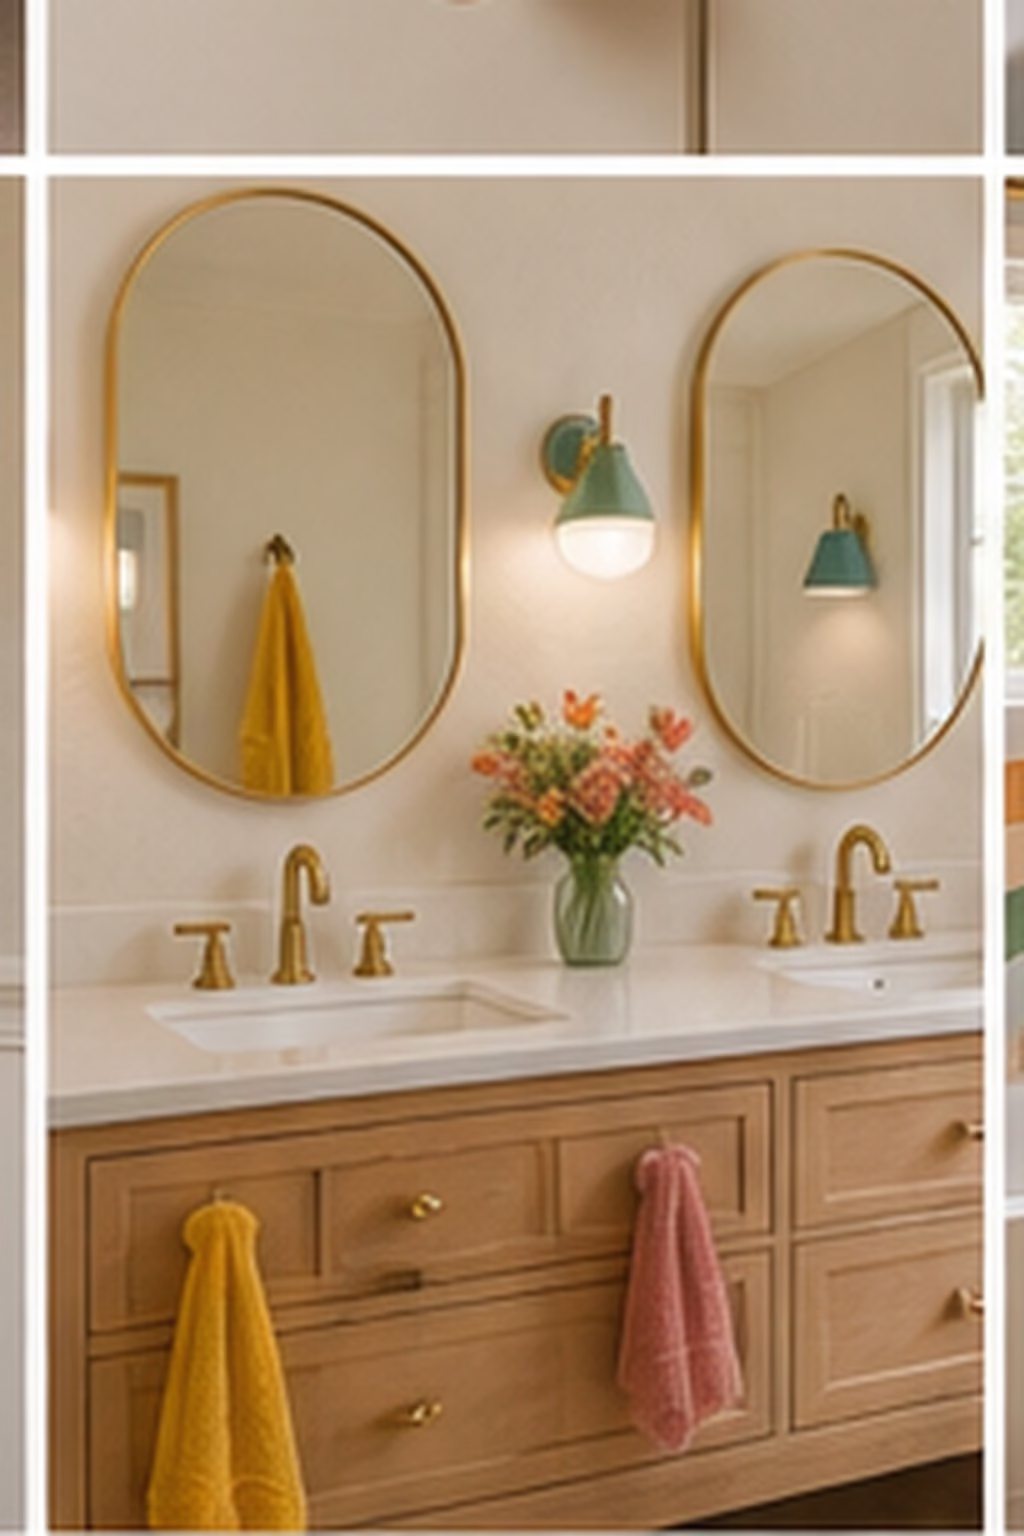
Two mirrors can make a double vanity feel more tailored than one wall-wide plate. It works best when the remodel plan treats it as architecture, not a late decorative layer. Align each mirror with a sink and leave room for sconces or a center cabinet. Measure clearances around the door swing, vanity drawers, shower glass, and towel bars before choosing the final size. Frames should relate to faucets, lighting, or cabinetry without matching too aggressively. Use durable finishes that can handle humidity without turning the bathroom into a showroom nobody wants to use. Balanced lighting between and beside mirrors improves function. Natural light should be supported by dimmable fixtures, especially near the mirror. This remodel choice gives the vanity wall rhythm and makes replacement easier later.
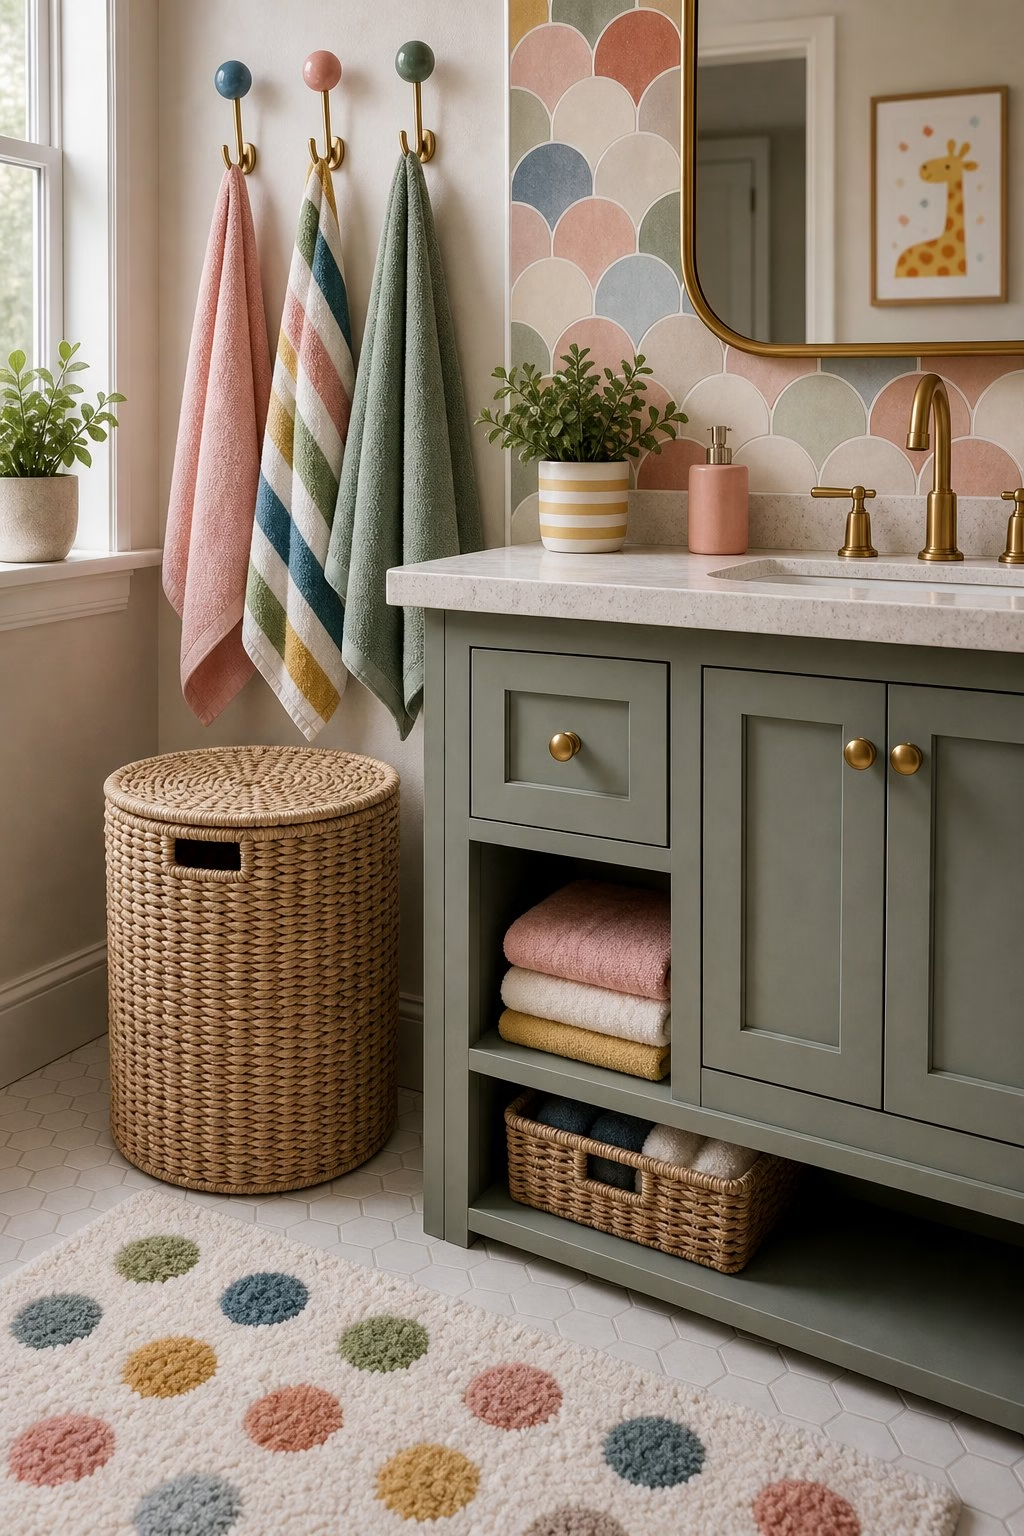
Replace Builder Lighting With Layered Fixtures
Lighting changes the perceived quality of every bathroom finish. The smartest version is restrained, practical, and easy to maintain. Combine face-level vanity light, wet-rated shower light, and soft ambient light instead of relying on one ceiling fixture. Pair the visual move with hidden storage or a better traffic path so it improves the room after the photo moment is over. Choose finishes that connect to faucets and cabinet hardware. Repeat one material from elsewhere in the bathroom to keep the composition connected. Dimmers are essential so morning, cleaning, and evening routines can feel different. Soft shadows make the texture feel expensive, while harsh overhead light can flatten it. A modest remodel can look far richer when the lighting is planned properly.

Add Under-Vanity Night Lighting
Under-vanity lighting can be practical when it is subtle. Think of this as a way to make the bathroom feel calmer without stripping out personality. Use it as a low night path, not as a bright strip that makes the cabinet float unnaturally. Choose proportions that suit the room instead of copying a large primary suite into a compact bath. Hide the LED channel and choose a warm color temperature compatible with the rest of the room. The finish should meet the floor, trim, and countertop cleanly, with no awkward slivers or abrupt transitions. It should connect to a dimmer or motion control for comfort. A sconce, recessed wash, or hidden strip can make the detail useful. The detail is small, but it makes the bathroom easier to use without turning on harsh lights.
Upgrade Ventilation Before Finishes
Ventilation is one of the least glamorous but most important remodel decisions. Start by deciding where this idea should work hardest: the vanity wall, shower zone, tub area, or storage run. Choose a properly sized quiet fan and place it where moisture actually collects. Keep the finish palette tight so the room feels intentional rather than busy. Use paint, drywall, and trim that can handle humidity once the mechanical problem is solved. The detail succeeds when scale, cleaning, and daily use are considered before anything is ordered. A fan-light combination can work if the light quality is not harsh. Add warm task lighting and one softer ambient layer so the surface still looks good at night. Good ventilation protects tile, cabinetry, mirrors, and the money spent on the remodel.

Use Waterproof Wall Panels in Hardworking Zones
Waterproof panels can simplify remodels when tile labor or grout maintenance is a concern. It works best when the remodel plan treats it as architecture, not a late decorative layer. Use them in showers, tub surrounds, or laundry-bath combinations where durability matters. Measure clearances around the door swing, vanity drawers, shower glass, and towel bars before choosing the final size. Choose realistic stone, solid color, or plaster-look panels rather than fake busy patterns. Use durable finishes that can handle humidity without turning the bathroom into a showroom nobody wants to use. Even light makes panel seams easier to evaluate before installation is final. Natural light should be supported by dimmable fixtures, especially near the mirror. The right panel system can look modern while reducing cleaning work.
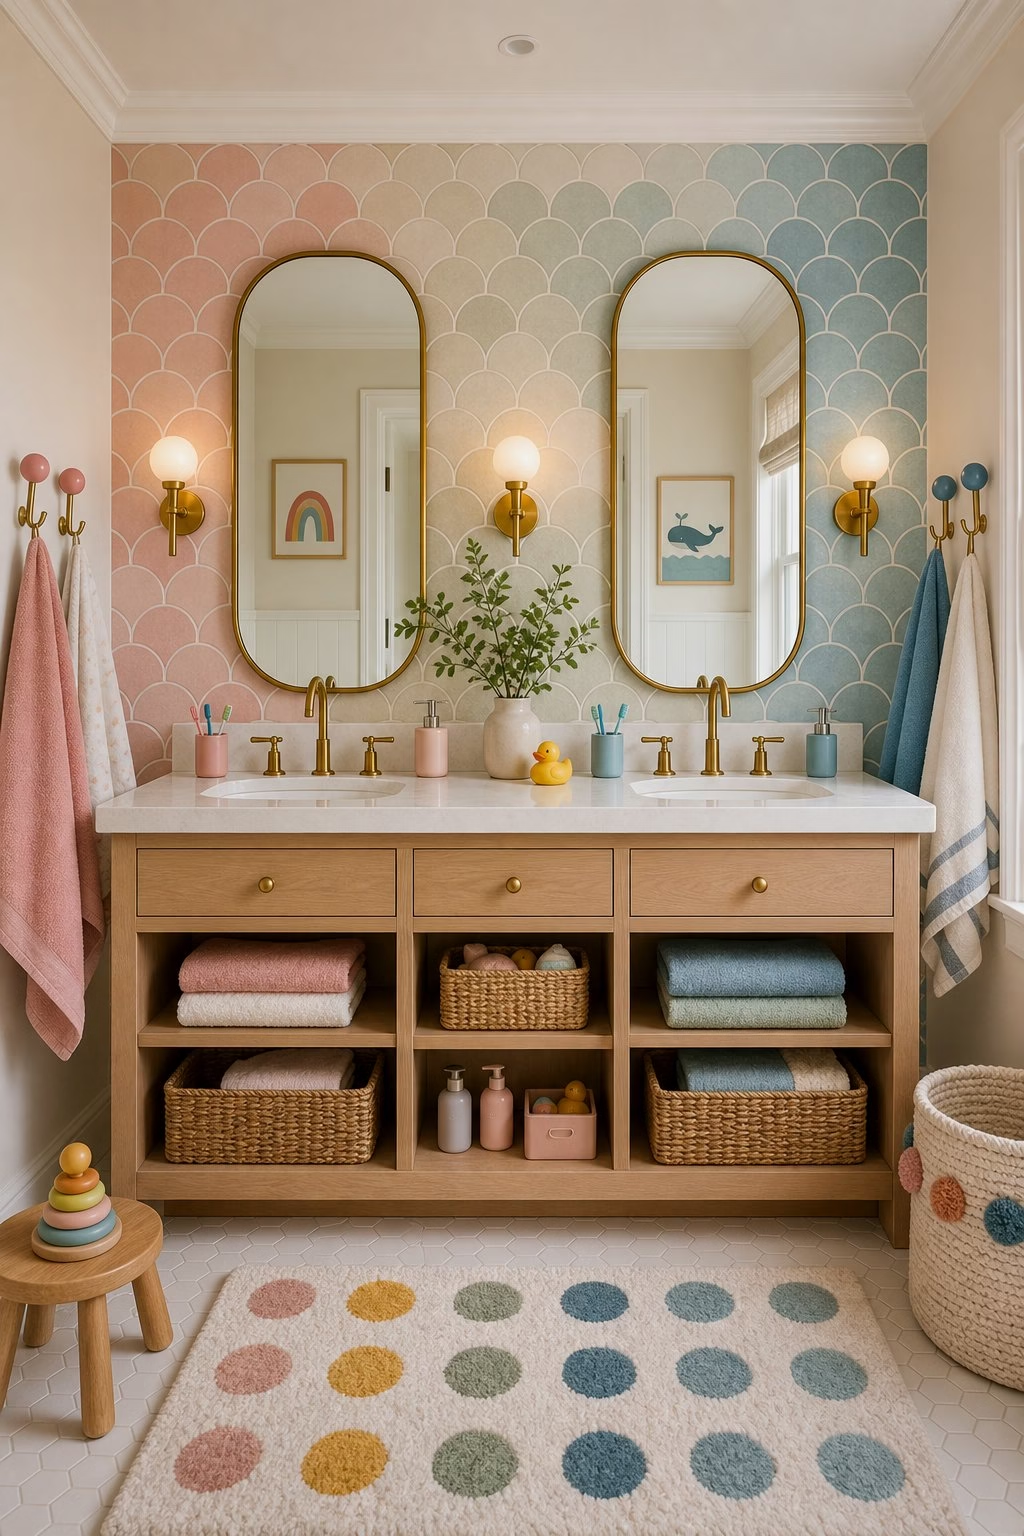
Mix Handmade Tile With Quiet Surfaces
Handmade tile adds life, but it works best with restraint. The smartest version is restrained, practical, and easy to maintain. Use it on one wall, a niche back, or the vanity backsplash instead of every plane. Pair the visual move with hidden storage or a better traffic path so it improves the room after the photo moment is over. Pair irregular edges with flat stone, simple paint, or clean wood so the room does not feel chaotic. Repeat one material from elsewhere in the bathroom to keep the composition connected. Soft grazing light highlights the variation beautifully. Soft shadows make the texture feel expensive, while harsh overhead light can flatten it. This gives a remodel character while keeping maintenance and budget under control.
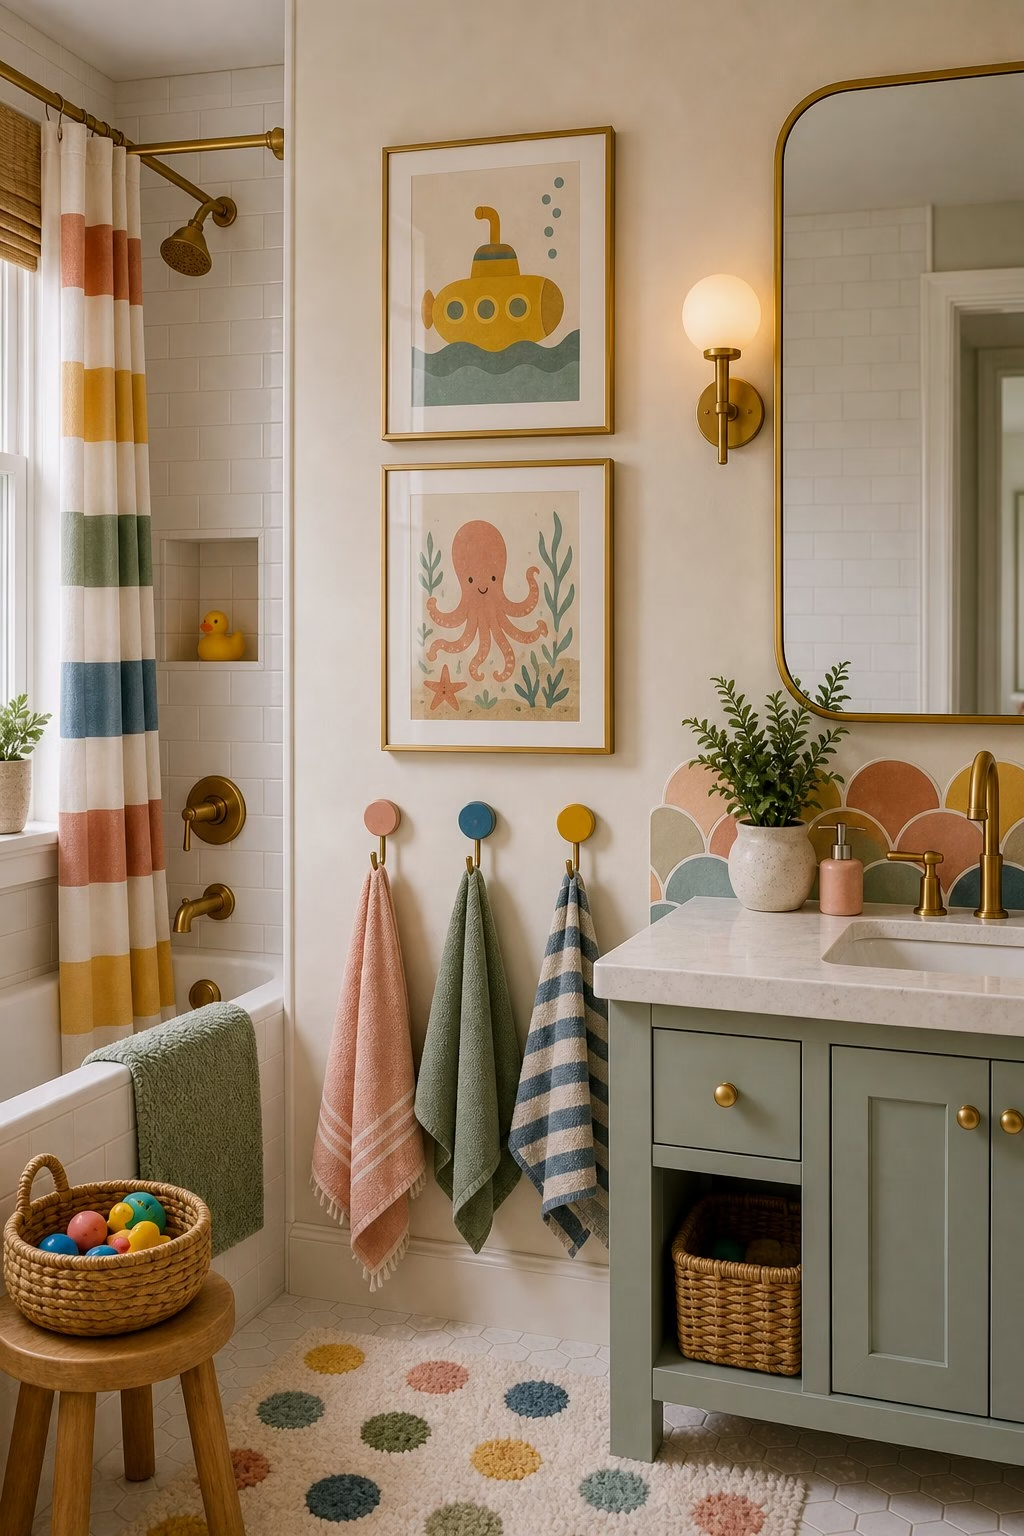
Choose a Realistic Grout Color
Grout color can make or break a bathroom remodel. Think of this as a way to make the bathroom feel calmer without stripping out personality. Match grout closely when you want a seamless surface, or choose a slightly deeper tone to show tile shape. Choose proportions that suit the room instead of copying a large primary suite into a compact bath. Avoid bright white grout on floors and showers unless cleaning habits can support it. The finish should meet the floor, trim, and countertop cleanly, with no awkward slivers or abrupt transitions. Good lighting helps reveal whether the grout reads too striped or too flat. A sconce, recessed wash, or hidden strip can make the detail useful. A considered grout choice keeps the finished room from looking cheaper than the tile itself.
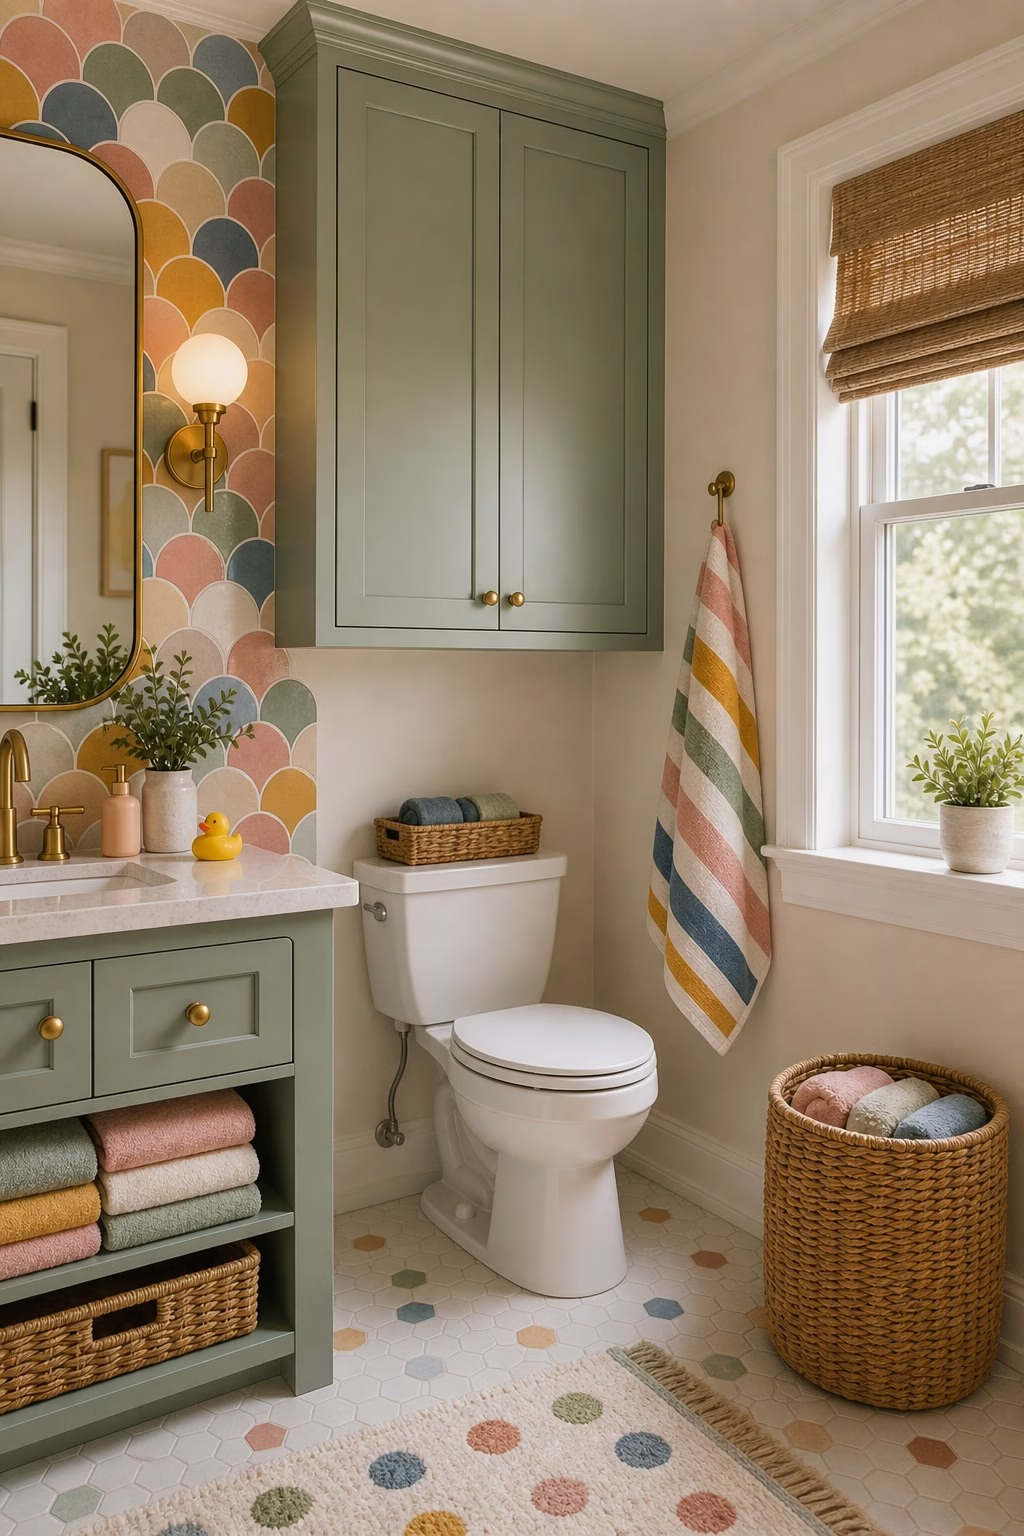
Extend the Counter Into a Small Ledge
A short ledge beside or behind the sink can be more useful than extra decor. Start by deciding where this idea should work hardest: the vanity wall, shower zone, tub area, or storage run. Use it for soap, a cup, a candle, or a small plant without crowding the main counter. Keep the finish palette tight so the room feels intentional rather than busy. Stone, solid surface, or sealed wood should be detailed so water cannot sit in seams. The detail succeeds when scale, cleaning, and daily use are considered before anything is ordered. A nearby sconce can make the ledge feel intentional. Add warm task lighting and one softer ambient layer so the surface still looks good at night. This is a practical remodel idea for bathrooms that need a little more landing space.
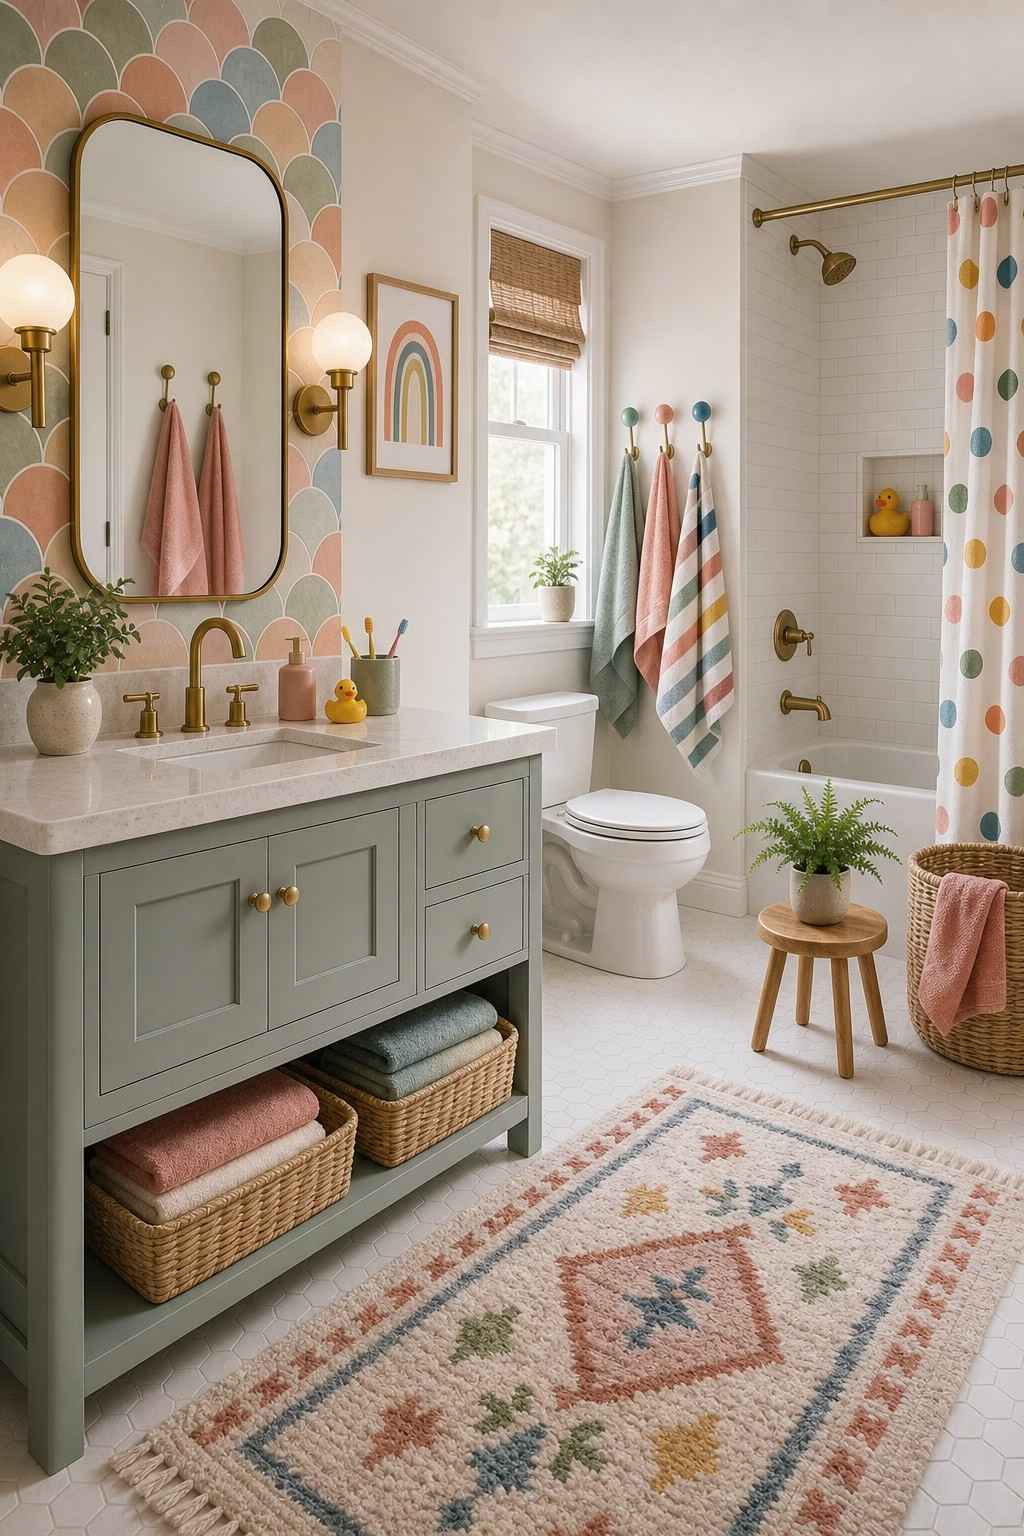
Build Storage Between Wall Studs
Recessed storage can help small bathrooms without taking floor space. It works best when the remodel plan treats it as architecture, not a late decorative layer. Look for stud bays near the toilet, vanity, or tub where shallow shelves make sense. Measure clearances around the door swing, vanity drawers, shower glass, and towel bars before choosing the final size. Finish the inside with tile, painted wood, or a mirrored door depending on what will be stored. Use durable finishes that can handle humidity without turning the bathroom into a showroom nobody wants to use. A small integrated light can keep deep shelves from becoming dark. Natural light should be supported by dimmable fixtures, especially near the mirror. The result feels custom because the storage is part of the wall.

Add Tall Storage Beside the Vanity
A tall cabinet can solve towel, product, and cleaning storage in one move. The smartest version is restrained, practical, and easy to maintain. Keep it shallow enough to avoid crowding the sink area and deep enough for folded towels. Pair the visual move with hidden storage or a better traffic path so it improves the room after the photo moment is over. Match the vanity finish or use a complementary wood tone for a built-in furniture feel. Repeat one material from elsewhere in the bathroom to keep the composition connected. Interior lighting helps a tall cabinet stay useful in the morning. Soft shadows make the texture feel expensive, while harsh overhead light can flatten it. This remodel idea reduces countertop clutter and makes the room easier to reset.
Use Open Shelves Sparingly
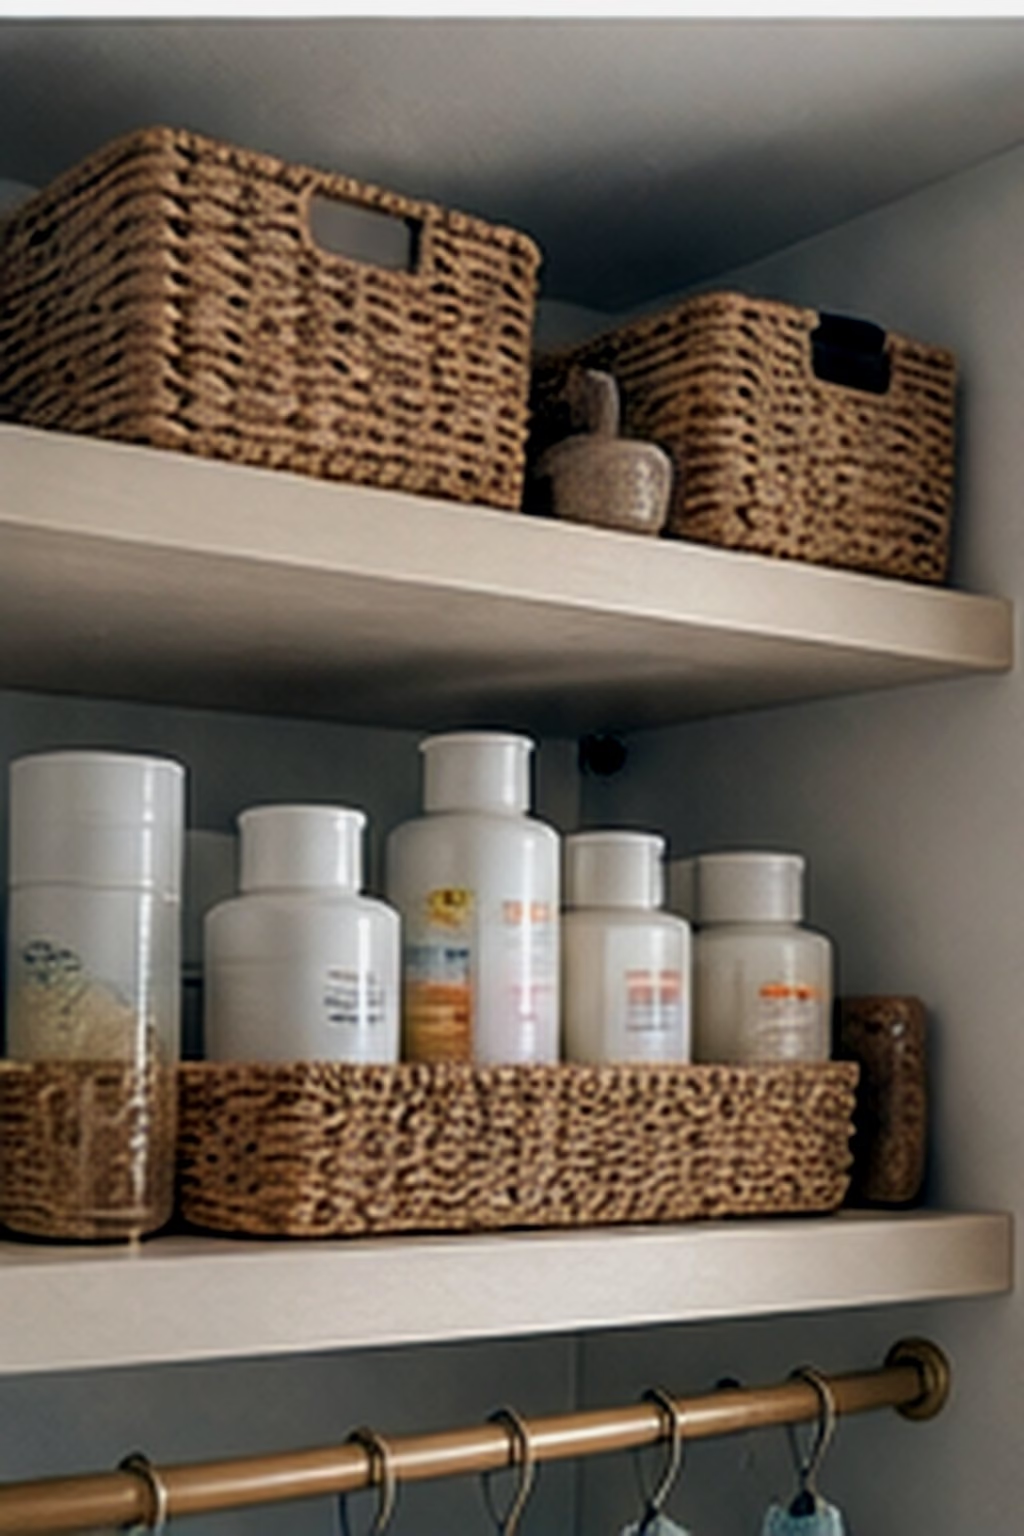
Open shelves can soften a bathroom, but too many become visual noise. Think of this as a way to make the bathroom feel calmer without stripping out personality. Use one or two shelves for folded towels, a small vessel, or products used daily. Choose proportions that suit the room instead of copying a large primary suite into a compact bath. Choose sealed wood, stone, or metal brackets that can handle humidity. The finish should meet the floor, trim, and countertop cleanly, with no awkward slivers or abrupt transitions. Light shelves from above or nearby so they do not feel like dark gaps. A sconce, recessed wash, or hidden strip can make the detail useful. The best open shelving looks useful and edited, not staged for storage overflow.

Create a Towel Zone Near the Shower
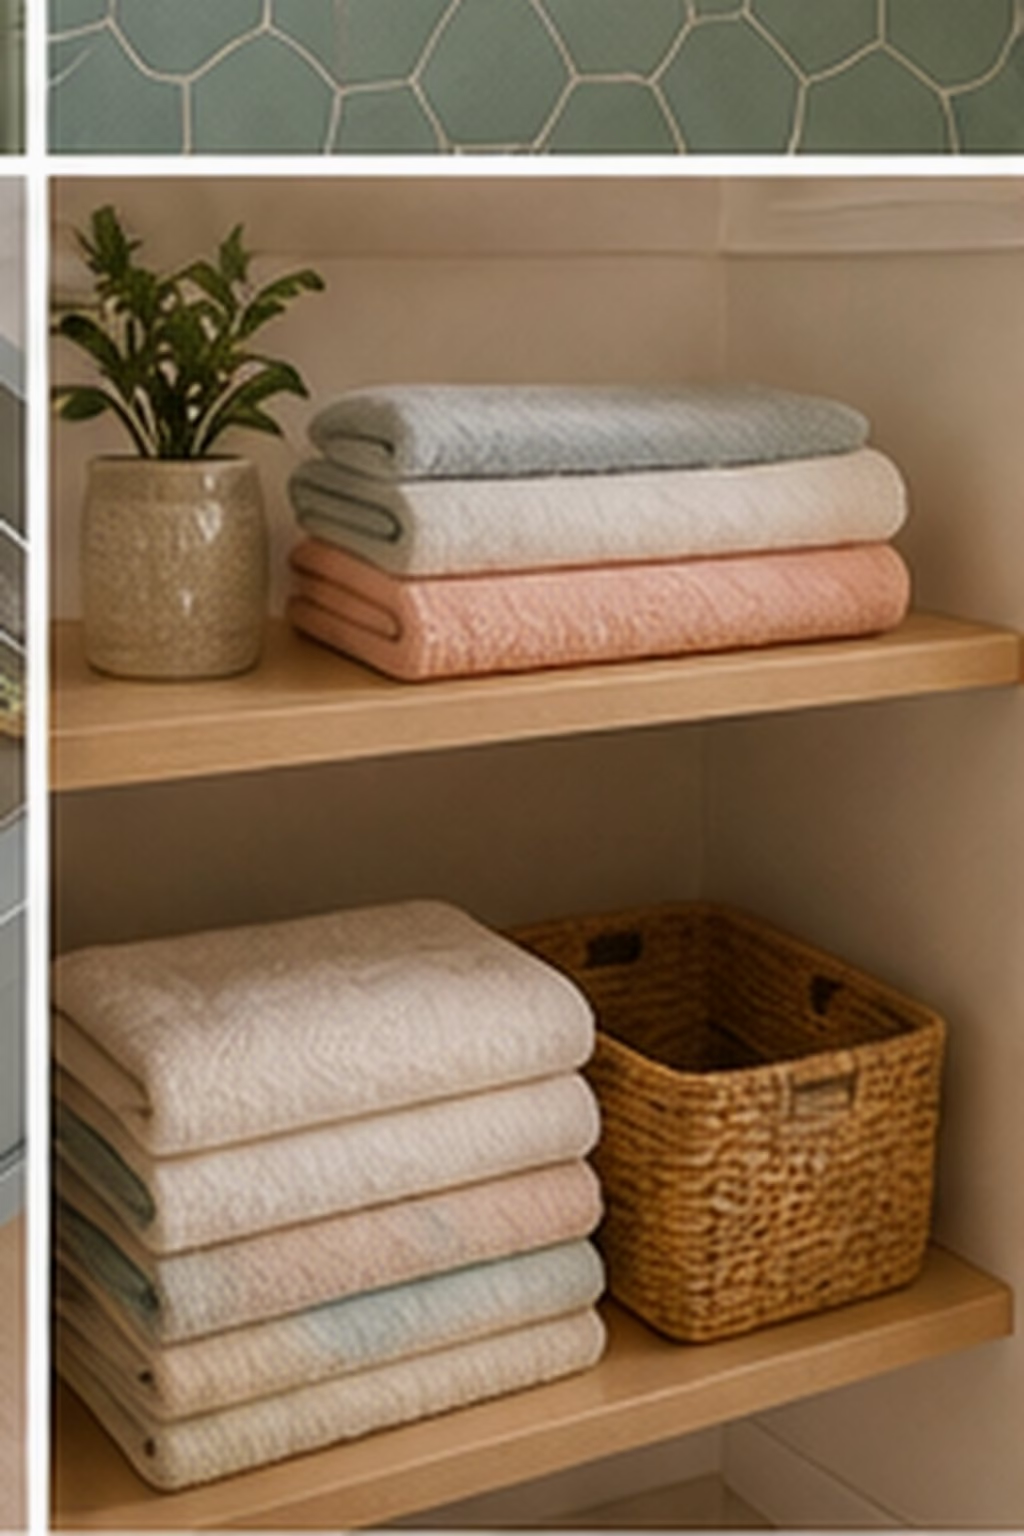
Towels should be reachable from where they are used. Start by deciding where this idea should work hardest: the vanity wall, shower zone, tub area, or storage run. Plan hooks, bars, or a warming rail before glass and tile are finalized. Keep the finish palette tight so the room feels intentional rather than busy. Use hardware that can carry wet towels without loosening or crowding the wall. The detail succeeds when scale, cleaning, and daily use are considered before anything is ordered. Lighting near the towel zone helps the room feel finished instead of purely functional. Add warm task lighting and one softer ambient layer so the surface still looks good at night. This small planning step makes the remodel more comfortable every day.
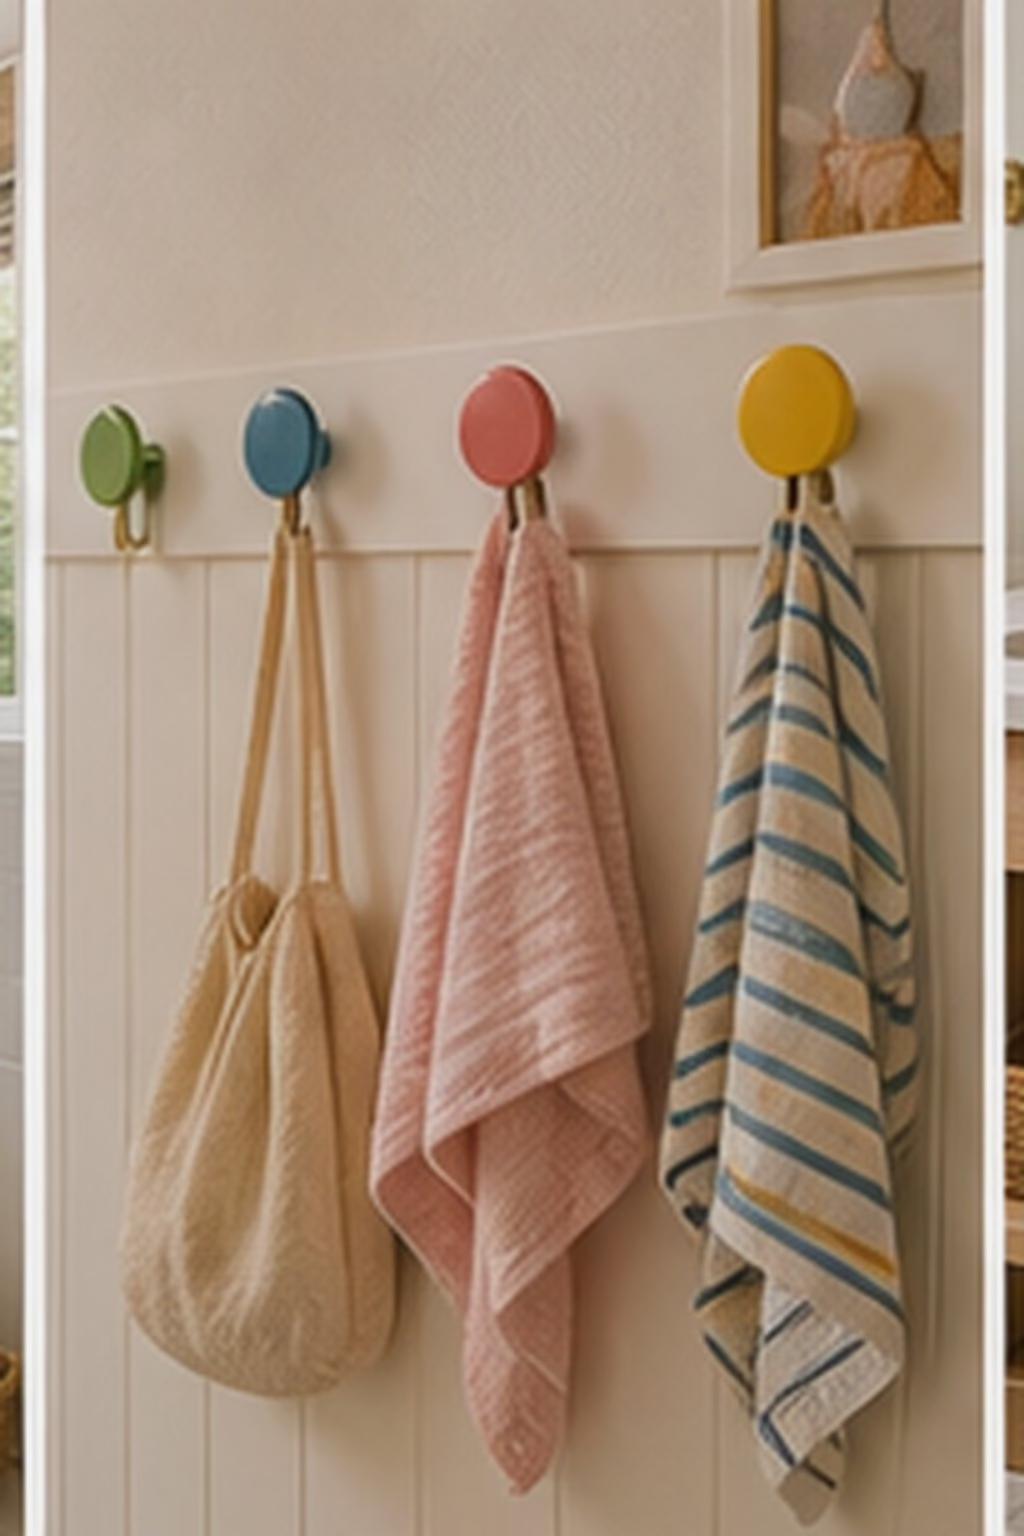
Use Hooks Where Bars Will Not Fit
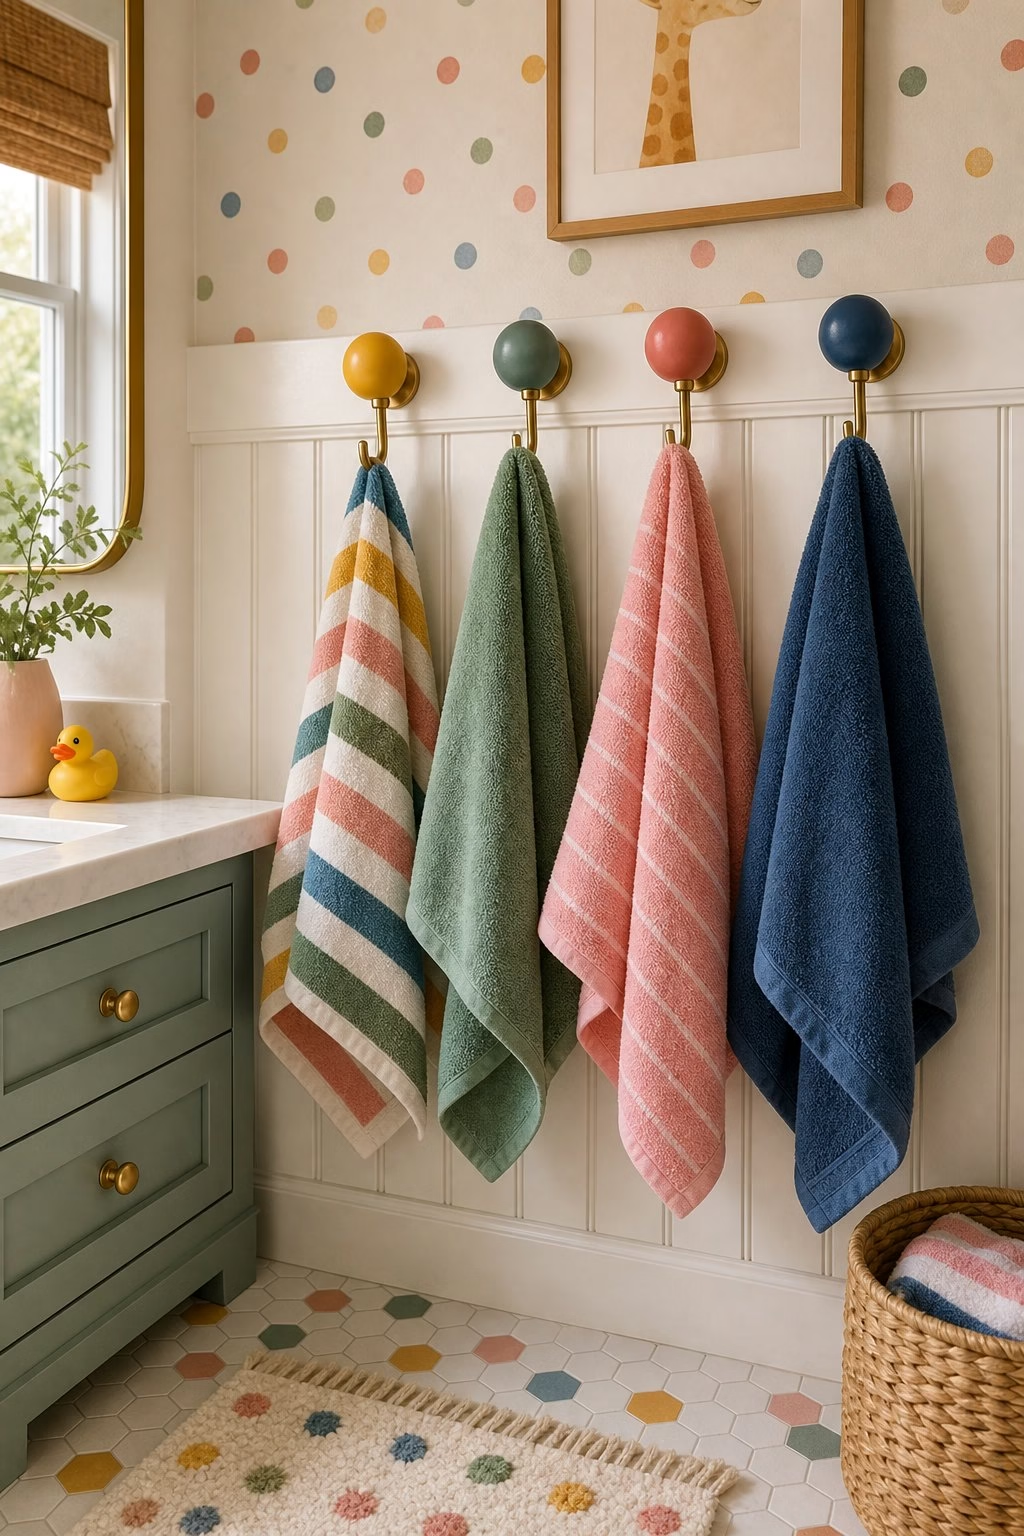
Hooks are often better than towel bars in compact bathrooms. It works best when the remodel plan treats it as architecture, not a late decorative layer. Place them where towels can dry without blocking the door, toilet, or vanity drawers. Measure clearances around the door swing, vanity drawers, shower glass, and towel bars before choosing the final size. Choose sturdy hooks that match the metal story and sit on proper blocking. Use durable finishes that can handle humidity without turning the bathroom into a showroom nobody wants to use. A little wall light or daylight keeps the hook area from feeling like an afterthought. Natural light should be supported by dimmable fixtures, especially near the mirror. This is a simple remodel choice that supports real routines.
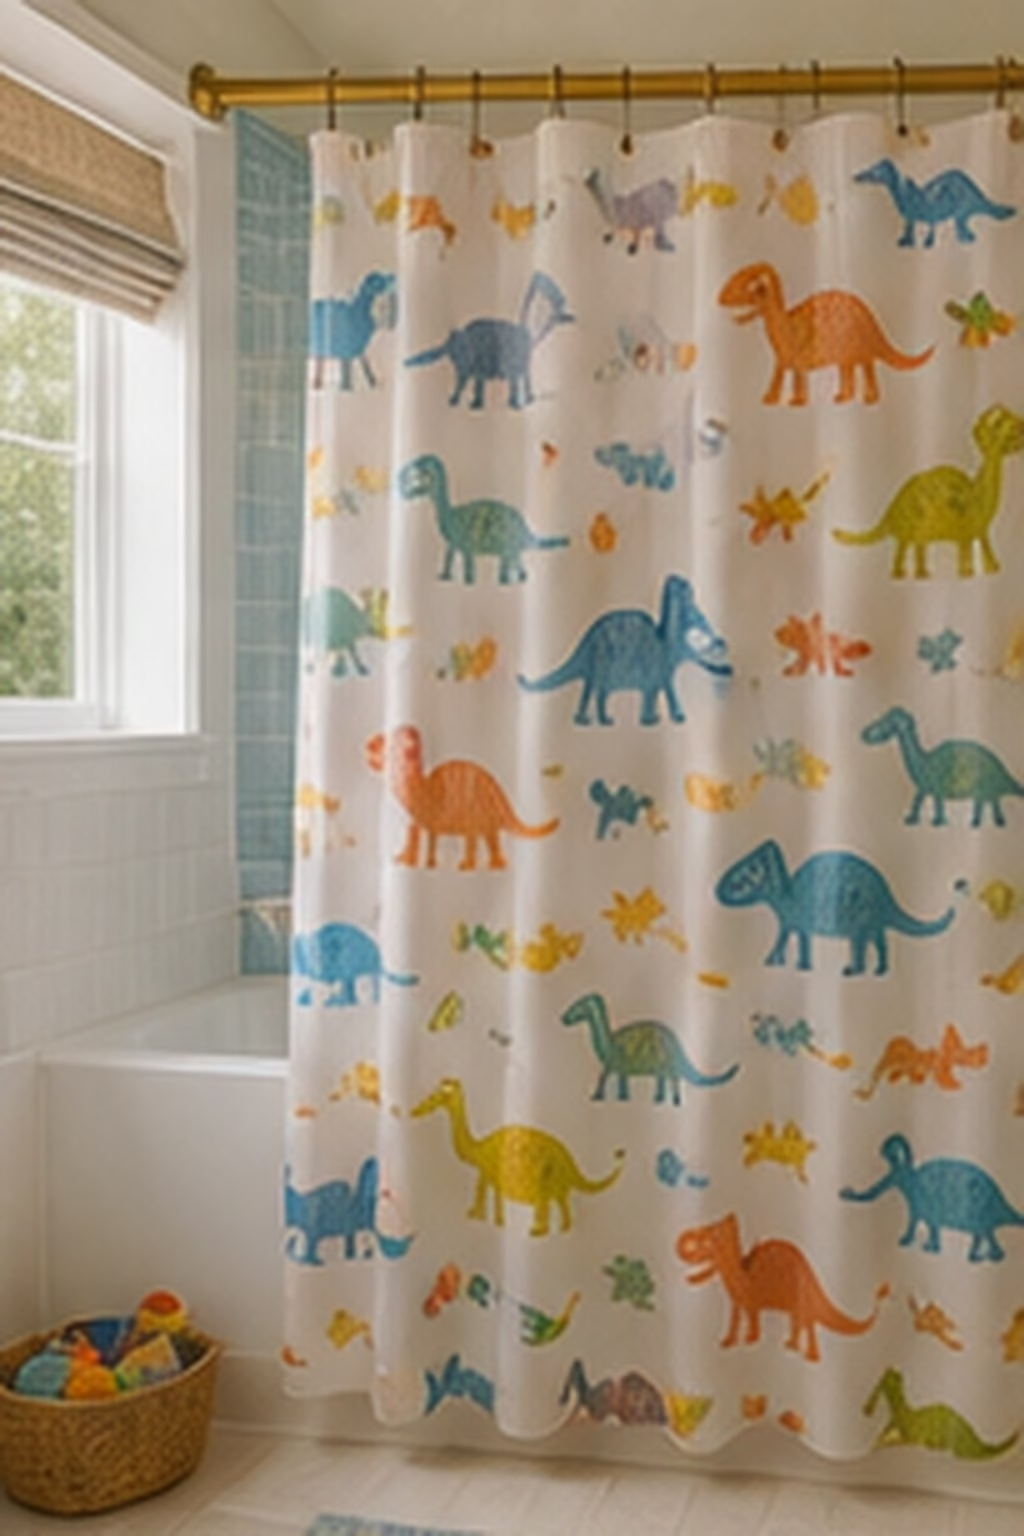
Add a Shower Shelf for Guests
Guest bathrooms need simple, visible storage that does not require explanation. The smartest version is restrained, practical, and easy to maintain. A slim shower shelf or niche can hold basics without cluttering the tub edge. Pair the visual move with hidden storage or a better traffic path so it improves the room after the photo moment is over. Use the same finish as the plumbing or a stone shelf that relates to the tile. Repeat one material from elsewhere in the bathroom to keep the composition connected. Good shower light makes the shelf easy to find. Soft shadows make the texture feel expensive, while harsh overhead light can flatten it. The bathroom feels more hospitable when guests have a logical place for everything.

Choose a Freestanding Tub With Breathing Room
Freestanding tubs look best when they have space around them. Think of this as a way to make the bathroom feel calmer without stripping out personality. Check cleaning clearance, faucet reach, and how someone will step in and out safely. Choose proportions that suit the room instead of copying a large primary suite into a compact bath. A compact oval tub often works better than an oversized sculptural one in real homes. The finish should meet the floor, trim, and countertop cleanly, with no awkward slivers or abrupt transitions. Window light or a pendant rated for the location can make the tub area special. A sconce, recessed wash, or hidden strip can make the detail useful. The remodel succeeds when the tub feels usable, not just decorative.

Use a Tub Niche Instead of a Caddy
A tub niche can make bathing supplies look intentional. Start by deciding where this idea should work hardest: the vanity wall, shower zone, tub area, or storage run. Place it where bottles are reachable but not hit by constant shower spray if the tub is combined. Keep the finish palette tight so the room feels intentional rather than busy. Line it with the same tile or a single slab for easy cleaning. The detail succeeds when scale, cleaning, and daily use are considered before anything is ordered. A soft light nearby can make the detail feel calm. Add warm task lighting and one softer ambient layer so the surface still looks good at night. This upgrade removes the need for metal caddies that rust or wobble over time.
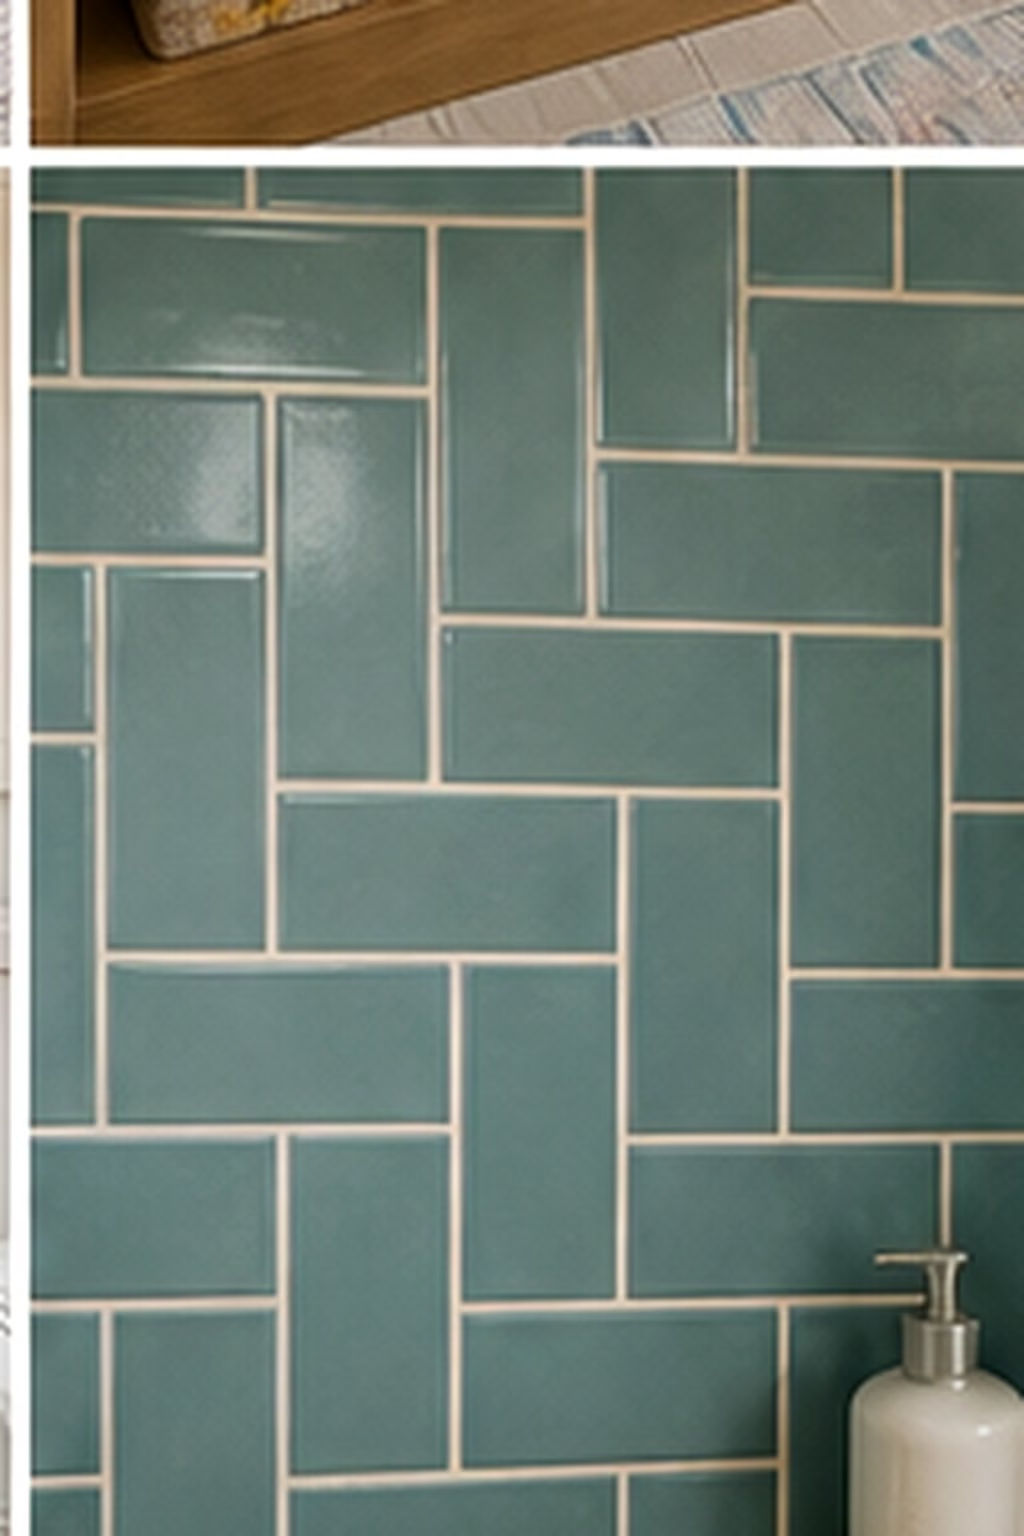
Modernize a Shower-Tub Combo With Better Glass
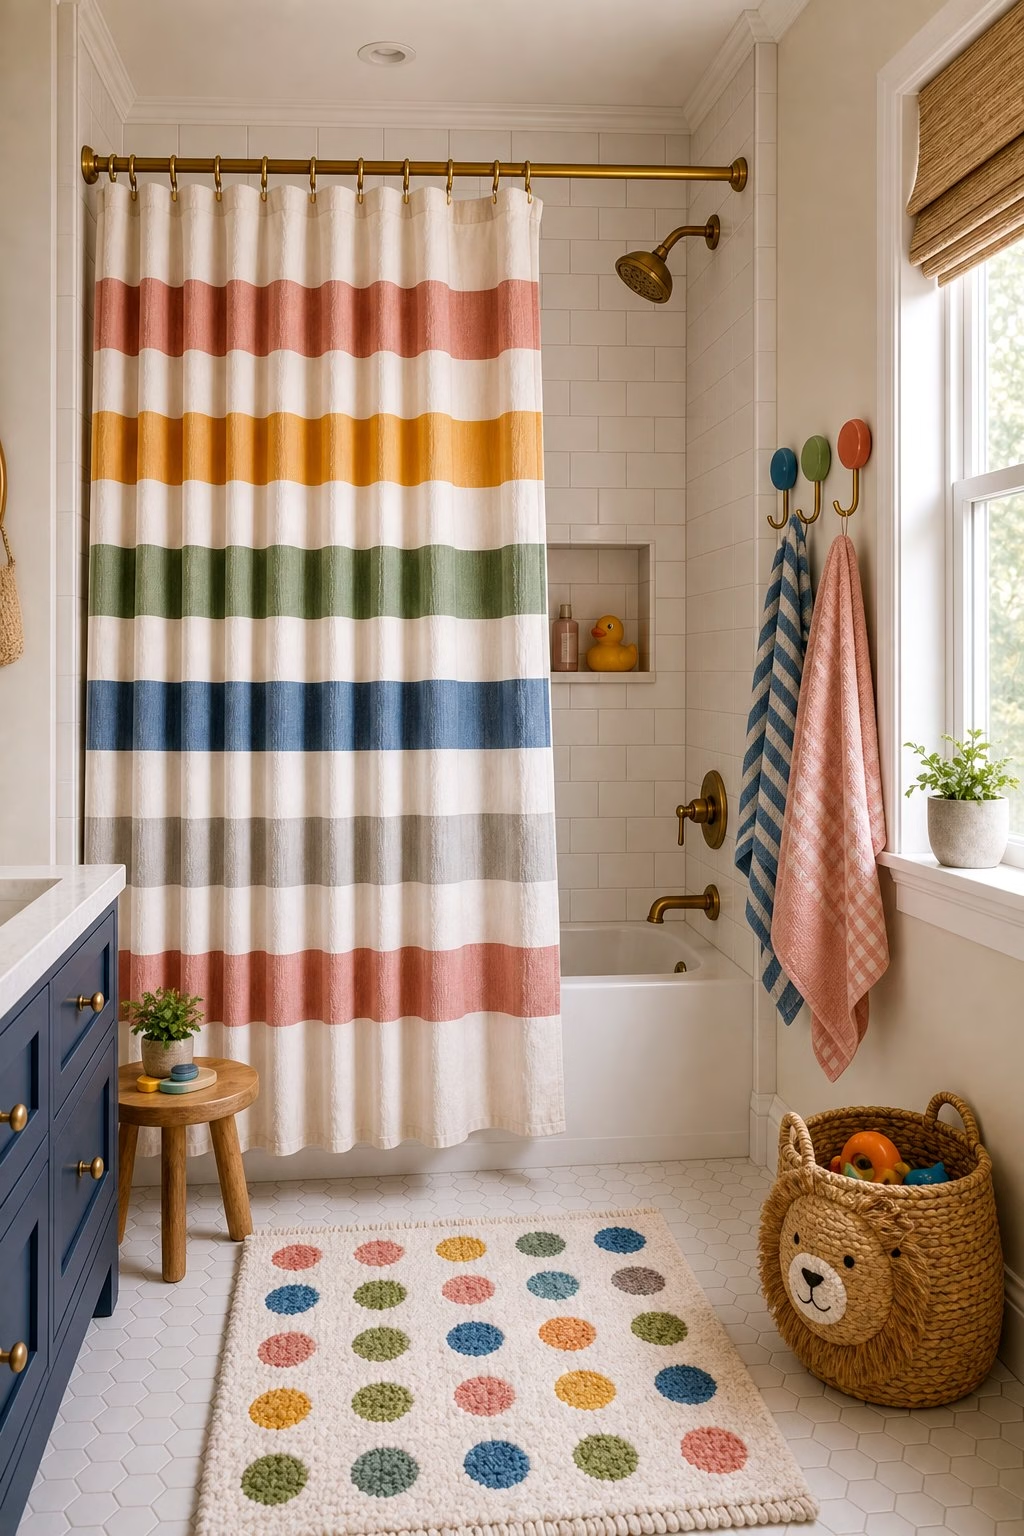
A shower-tub combo can still look current with the right enclosure. It works best when the remodel plan treats it as architecture, not a late decorative layer. Replace a tired curtain or heavy framed door with a fixed glass panel when splash patterns allow. Measure clearances around the door swing, vanity drawers, shower glass, and towel bars before choosing the final size. Pair it with ceiling-height tile and a simple tub apron for a cleaner line. Use durable finishes that can handle humidity without turning the bathroom into a showroom nobody wants to use. A wet-rated light over the tub keeps the area bright. Natural light should be supported by dimmable fixtures, especially near the mirror. This remodel idea is useful for homes that need a tub but want a more modern look.
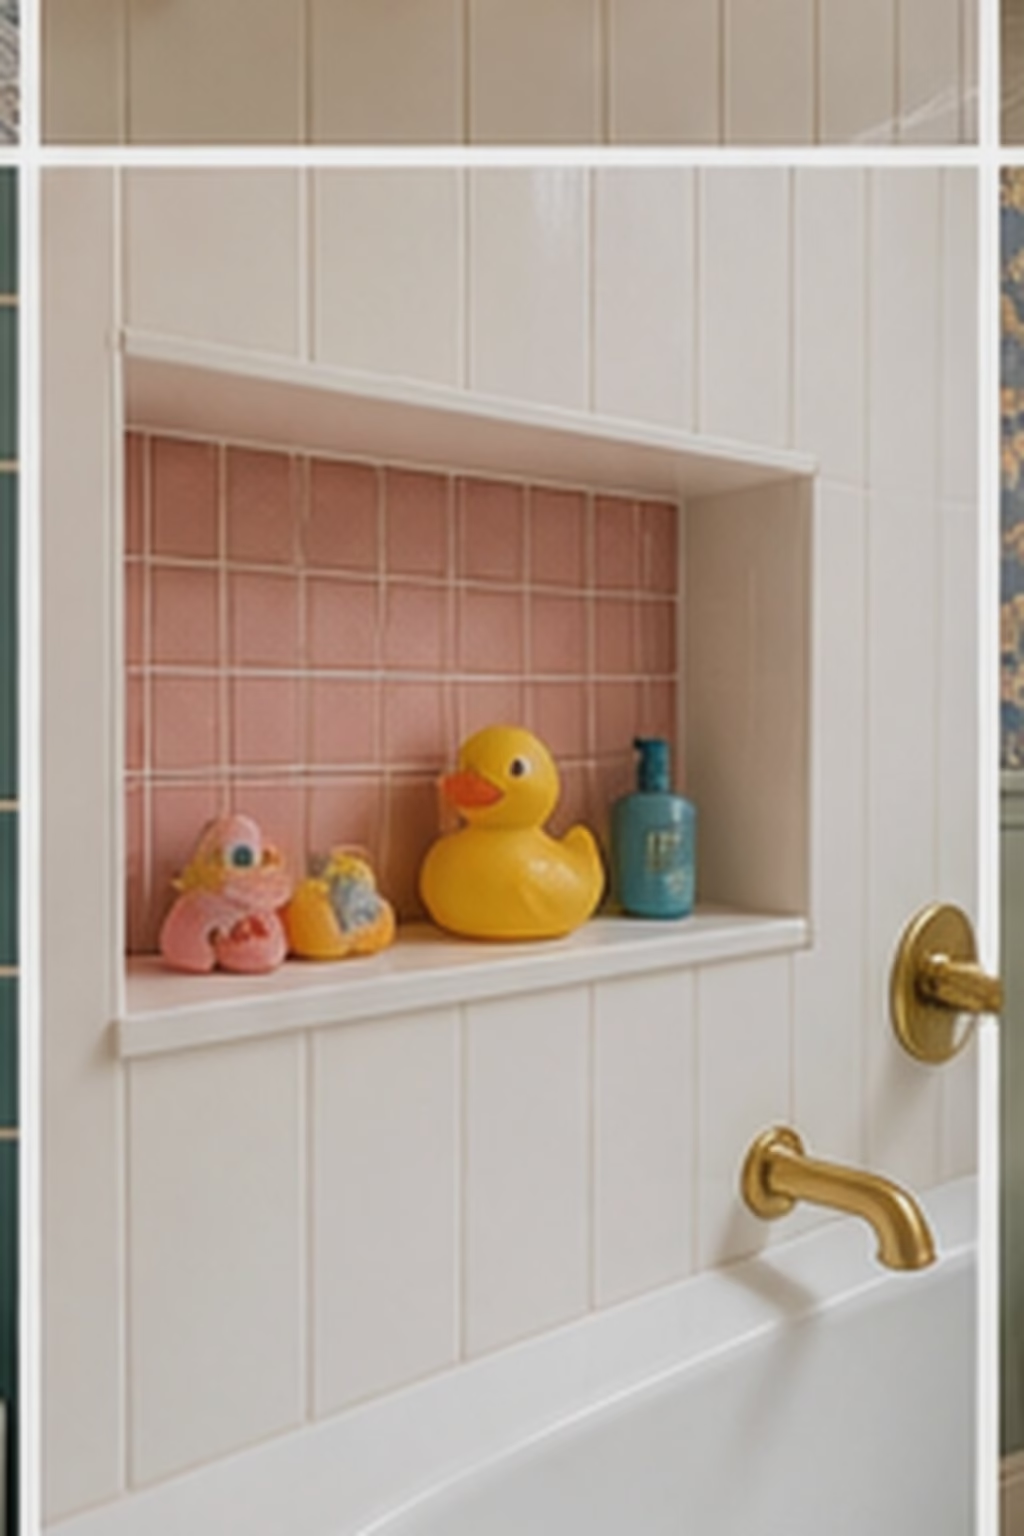
Use Black Accents Carefully
Black fixtures can add definition, but too much can make a bathroom feel hard. The smartest version is restrained, practical, and easy to maintain. Use black on a mirror frame, shower trim, or faucet set, then soften it with warm stone or wood. Pair the visual move with hidden storage or a better traffic path so it improves the room after the photo moment is over. Choose durable finishes because chips show quickly on dark hardware. Repeat one material from elsewhere in the bathroom to keep the composition connected. Warm light keeps black accents from looking stark against pale tile. Soft shadows make the texture feel expensive, while harsh overhead light can flatten it. A controlled amount of contrast makes the remodel feel crisp rather than trendy for its own sake.
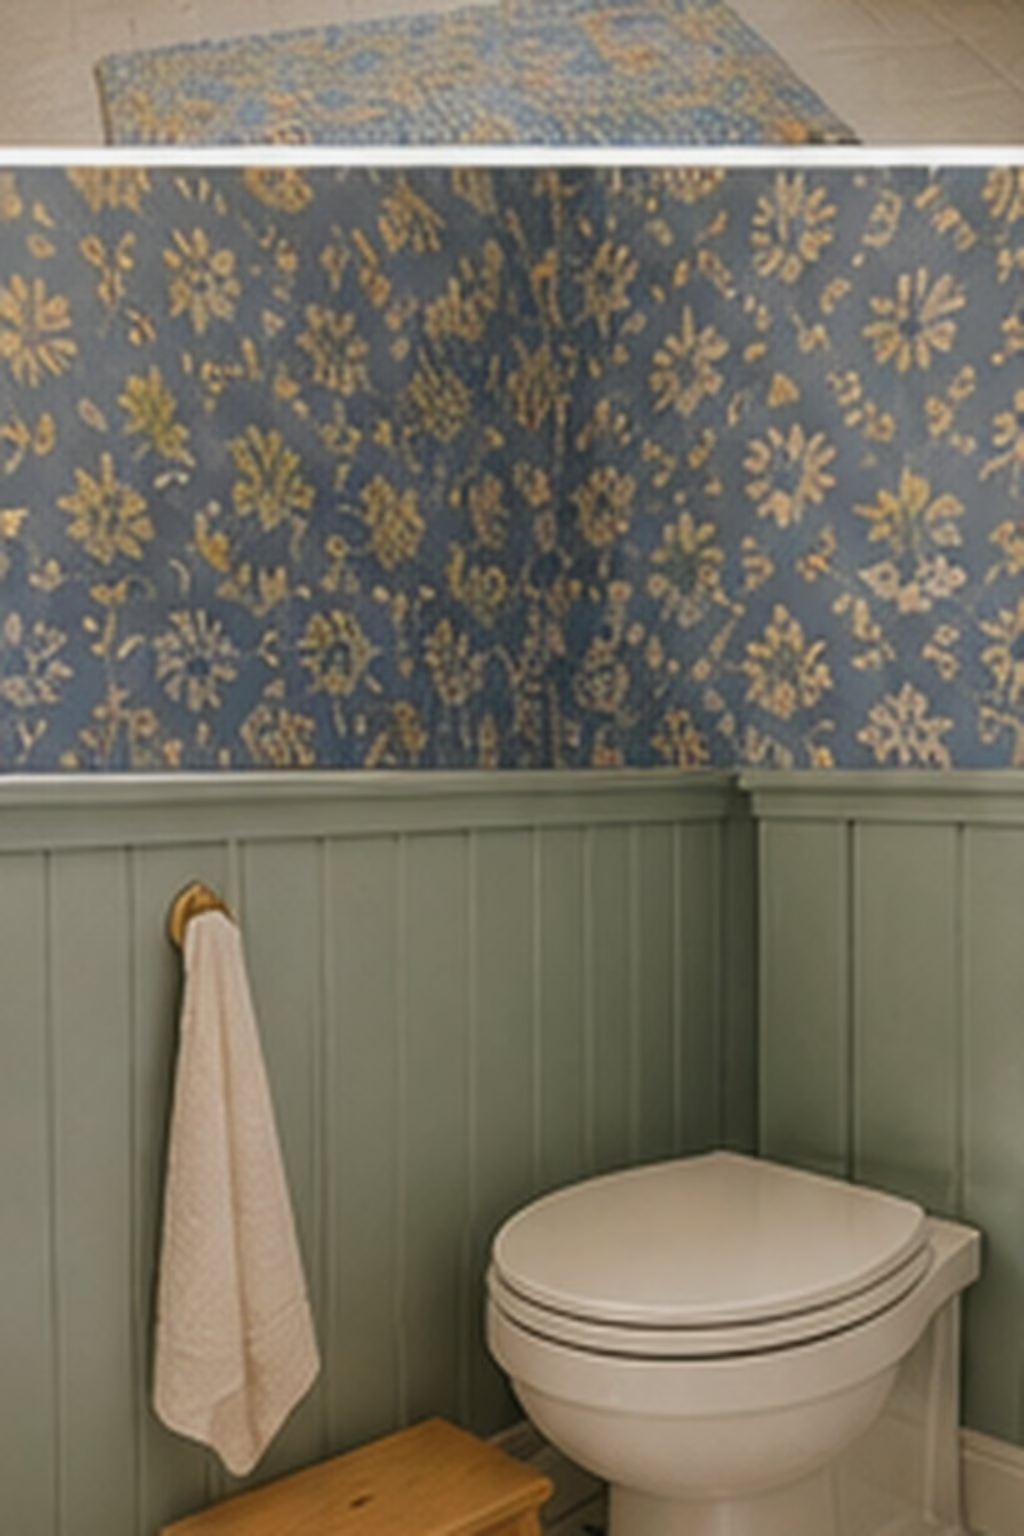
Bring in Natural Wood Without Water Damage
Wood warms a bathroom when it is chosen and sealed correctly. Think of this as a way to make the bathroom feel calmer without stripping out personality. Use it on vanities, storage towers, stools, or shelves outside the wettest splash zones. Choose proportions that suit the room instead of copying a large primary suite into a compact bath. Veneered marine-grade panels, sealed hardwood, and quality laminates can all be practical. The finish should meet the floor, trim, and countertop cleanly, with no awkward slivers or abrupt transitions. Daylight and warm sconces bring out grain without making the room orange. A sconce, recessed wash, or hidden strip can make the detail useful. The space feels more human when the wood is protected and not overused.

Use Plaster-Look Walls for Softness
Plaster-look walls can make a bathroom feel calmer than a fully tiled box. Start by deciding where this idea should work hardest: the vanity wall, shower zone, tub area, or storage run. Use real limewash, waterproof plaster systems, or porcelain that mimics plaster where moisture allows. Keep the finish palette tight so the room feels intentional rather than busy. Keep wet zones protected and avoid finishes that cannot handle steam. The detail succeeds when scale, cleaning, and daily use are considered before anything is ordered. Gentle wall washing makes the subtle texture visible. Add warm task lighting and one softer ambient layer so the surface still looks good at night. This remodel idea is strongest when paired with simple stone, wood, and quiet metal.
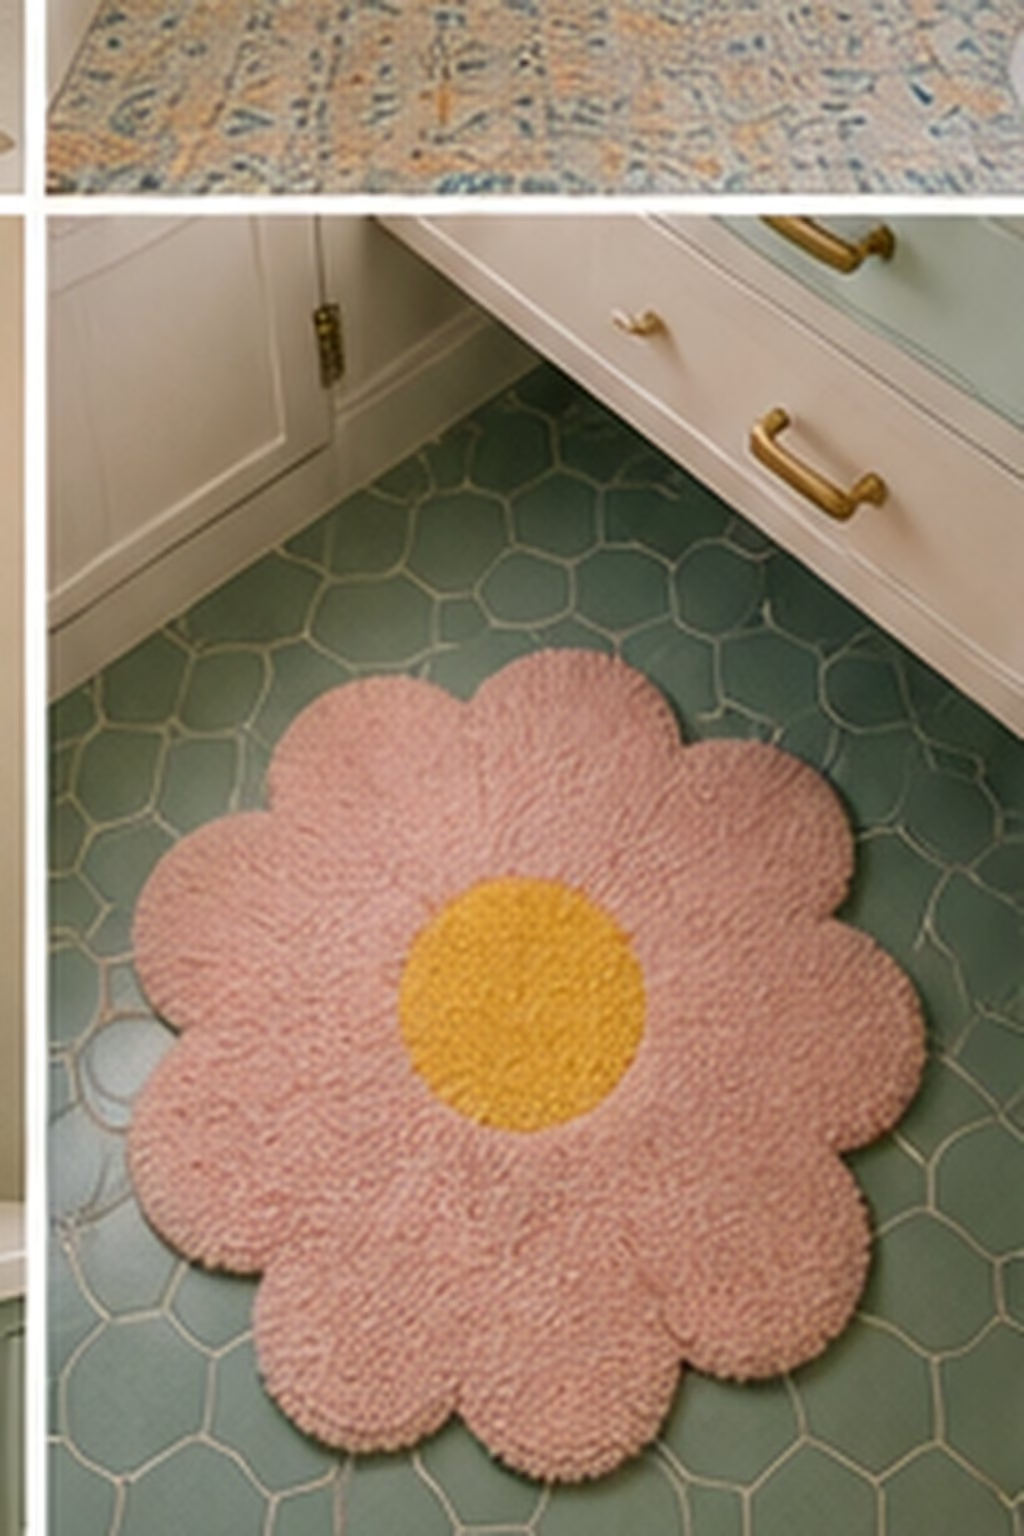
Install a Larger Mirror to Borrow Light
A larger mirror can double the sense of daylight in a dark bathroom. It works best when the remodel plan treats it as architecture, not a late decorative layer. Place it where it reflects a window, shower glass, or the cleanest part of the room. Measure clearances around the door swing, vanity drawers, shower glass, and towel bars before choosing the final size. Frame or recess it so the edges feel finished rather than builder-basic. Use durable finishes that can handle humidity without turning the bathroom into a showroom nobody wants to use. Add side lighting so the mirror is useful as well as bright. Natural light should be supported by dimmable fixtures, especially near the mirror. This is often one of the most cost-effective visual upgrades in a remodel.
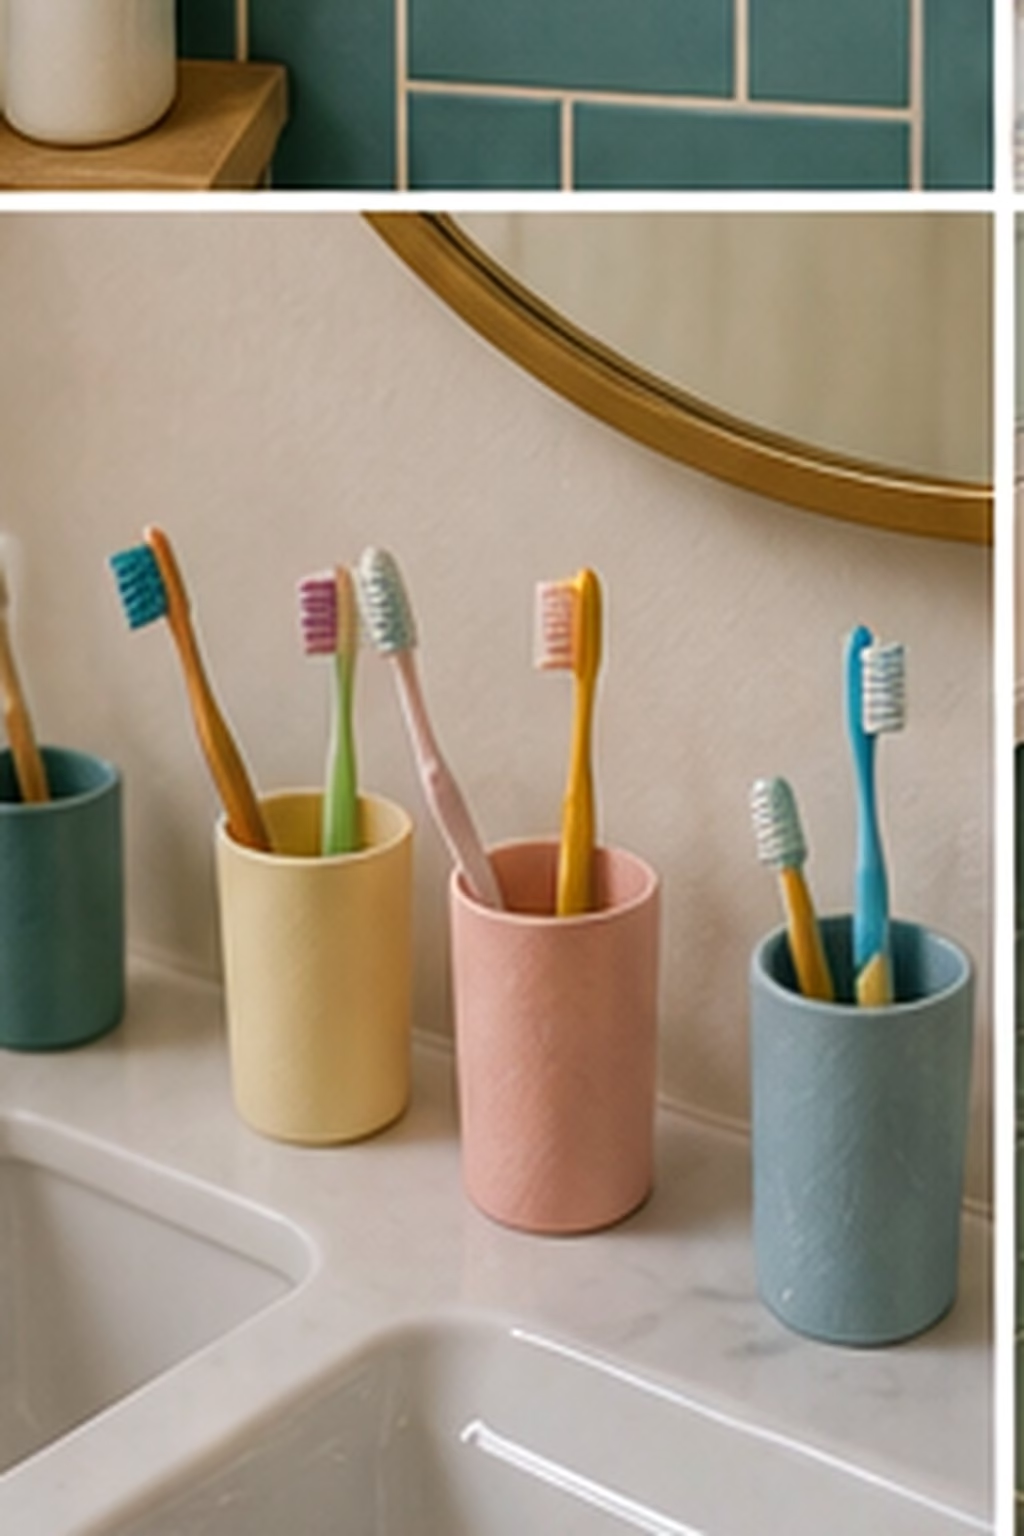
Create Contrast With a Dark Vanity
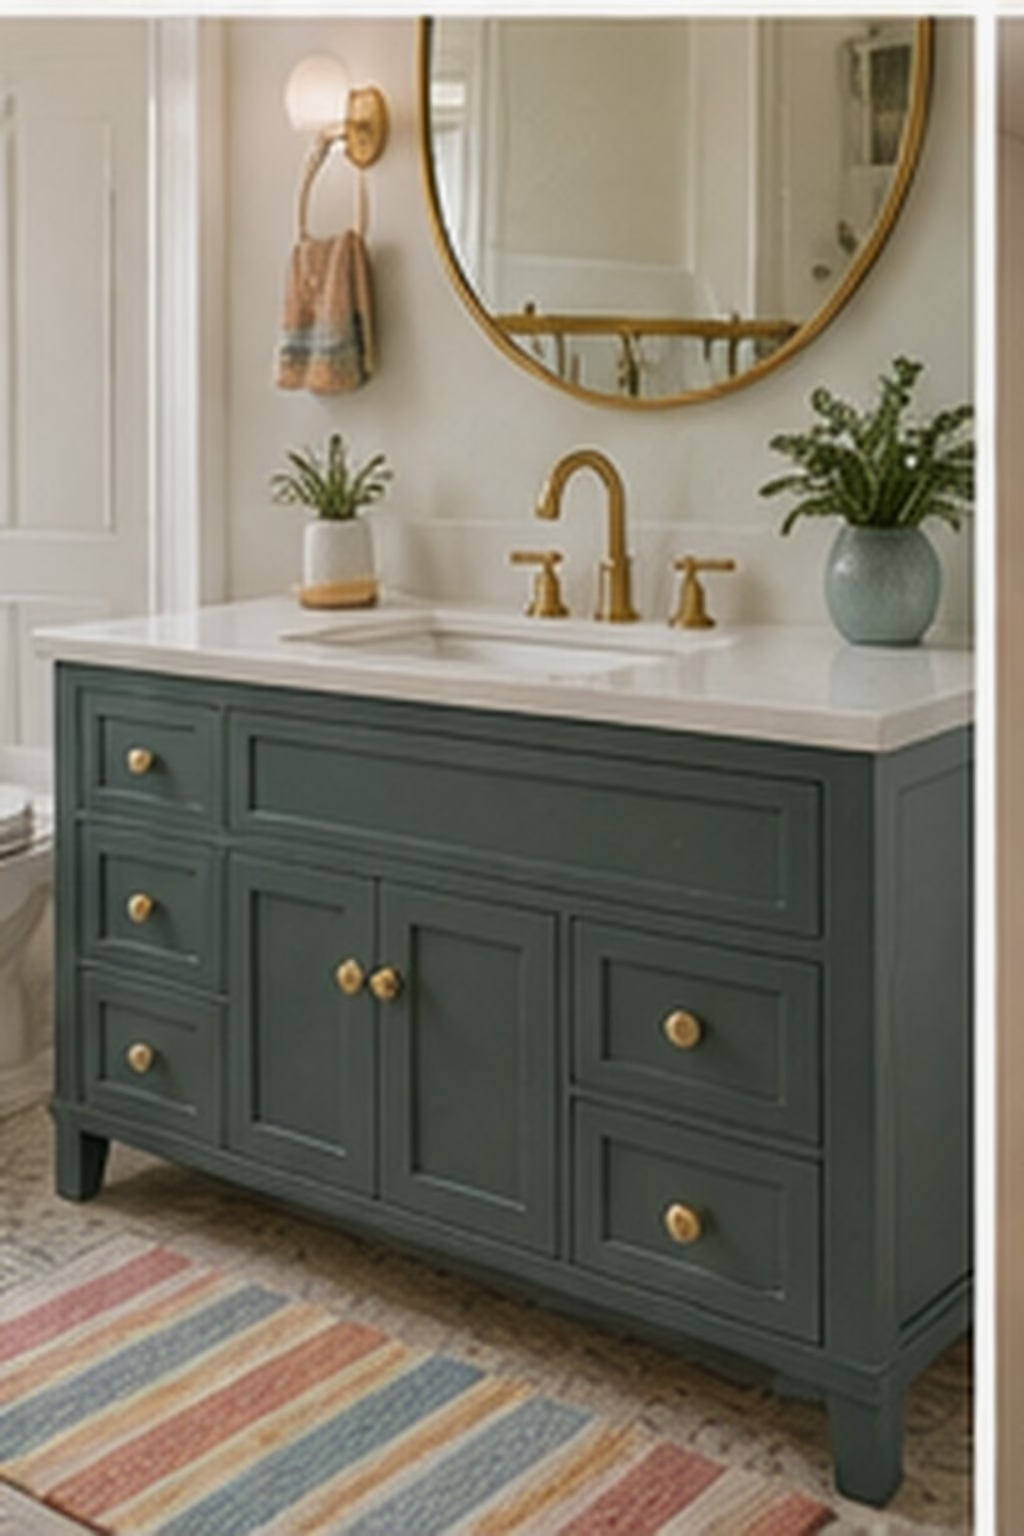
A dark vanity can ground a pale bathroom and make the room feel more designed. The smartest version is restrained, practical, and easy to maintain. Use it when the floor and walls are light enough to balance the visual weight. Pair the visual move with hidden storage or a better traffic path so it improves the room after the photo moment is over. Charcoal, espresso oak, deep green, or navy all need durable finishes and simple hardware. Repeat one material from elsewhere in the bathroom to keep the composition connected. Mirror and sconce placement should keep the vanity wall from feeling heavy. Soft shadows make the texture feel expensive, while harsh overhead light can flatten it. The contrast works when the rest of the palette stays edited.
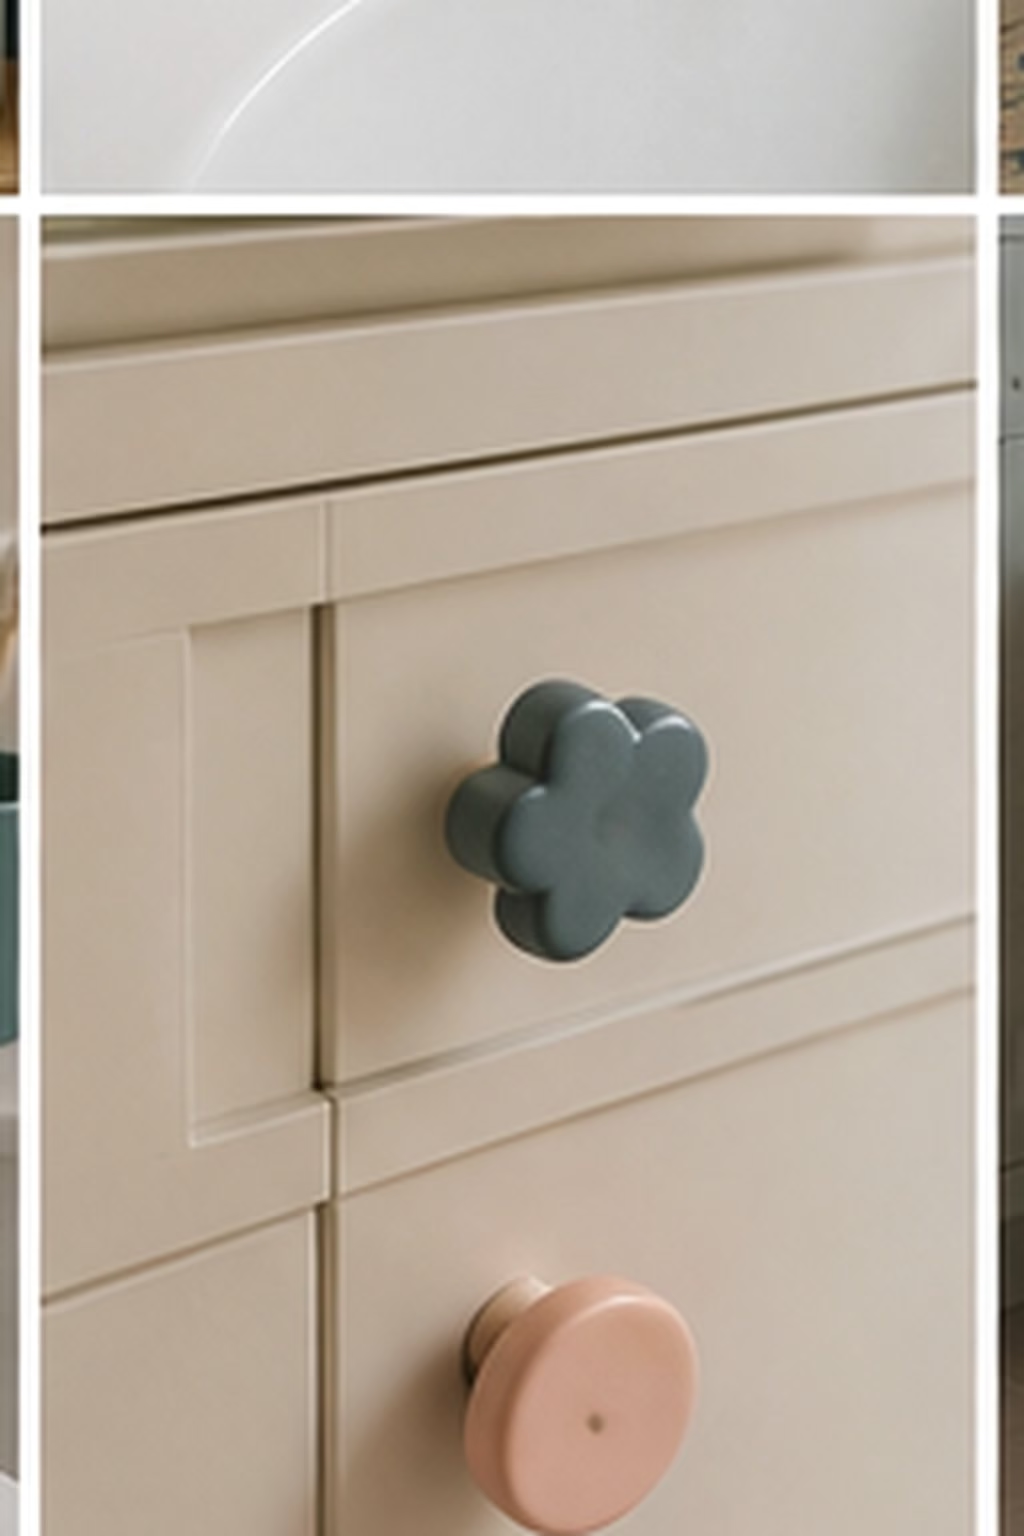
Choose a Quiet Patterned Floor
A patterned floor can give a bathroom personality without crowding the walls. Think of this as a way to make the bathroom feel calmer without stripping out personality. Use it in powder rooms, guest baths, or compact spaces where the pattern can be contained. Choose proportions that suit the room instead of copying a large primary suite into a compact bath. Keep wall tile, vanity, and hardware simpler so the floor remains the focal point. The finish should meet the floor, trim, and countertop cleanly, with no awkward slivers or abrupt transitions. Even overhead light helps the pattern read clearly. A sconce, recessed wash, or hidden strip can make the detail useful. The remodel feels fresh when the pattern is scaled to the room instead of overwhelming it.
Add Wainscot Tile Outside the Shower
Tile wainscot can protect walls and make a bathroom feel more finished. Start by deciding where this idea should work hardest: the vanity wall, shower zone, tub area, or storage run. Run it behind the toilet, around the vanity, or along a tub wall where splashes happen. Keep the finish palette tight so the room feels intentional rather than busy. Cap the tile cleanly with stone, bullnose, or a slim metal profile. The detail succeeds when scale, cleaning, and daily use are considered before anything is ordered. A wall sconce above the cap can make the proportion feel intentional. Add warm task lighting and one softer ambient layer so the surface still looks good at night. This is a practical way to add detail without tiling every surface.
Upgrade the Toilet Area With a Half Wall
A half wall can add privacy without closing off the bathroom. It works best when the remodel plan treats it as architecture, not a late decorative layer. Use it beside the toilet, shower, or tub only if it improves the layout and does not block light. Measure clearances around the door swing, vanity drawers, shower glass, and towel bars before choosing the final size. Cap it with stone or tile so moisture and cleaning are handled well. Use durable finishes that can handle humidity without turning the bathroom into a showroom nobody wants to use. Soft light on both sides prevents the partition from feeling bulky. Natural light should be supported by dimmable fixtures, especially near the mirror. The best half walls look like architecture, not a compromise.
Use a Clear Glass Shower to Expand Sight Lines
Clear glass can make a remodeled bathroom feel much larger. The smartest version is restrained, practical, and easy to maintain. It works best when the shower tile and fixtures are attractive enough to remain visible. Pair the visual move with hidden storage or a better traffic path so it improves the room after the photo moment is over. Choose hardware that aligns with the rest of the metal finishes and allows proper door swing. Repeat one material from elsewhere in the bathroom to keep the composition connected. A clean shower light prevents the glass box from feeling dark. Soft shadows make the texture feel expensive, while harsh overhead light can flatten it. The room gains openness, but only if storage inside the shower stays organized.
Hide Outlets in Useful Places
Outlet placement should be planned before tile, mirrors, and cabinetry are installed. Think of this as a way to make the bathroom feel calmer without stripping out personality. Put power inside medicine cabinets, grooming drawers, or discreet side walls where devices are actually used. Choose proportions that suit the room instead of copying a large primary suite into a compact bath. Use code-compliant GFCI protection and avoid awkward cuts through statement tile when possible. The finish should meet the floor, trim, and countertop cleanly, with no awkward slivers or abrupt transitions. Good lighting near powered zones supports makeup, shaving, and hair tools. A sconce, recessed wash, or hidden strip can make the detail useful. Hidden power keeps the finished bathroom cleaner and more functional.
Plan for Aging Without a Clinical Look
Accessible details can be beautiful when they are integrated early. Start by deciding where this idea should work hardest: the vanity wall, shower zone, tub area, or storage run. Use blocking for future grab bars, curbless entries, wider clearances, and lever handles where possible. Keep the finish palette tight so the room feels intentional rather than busy. Choose slip-resistant floors and benches that match the design language. The detail succeeds when scale, cleaning, and daily use are considered before anything is ordered. Balanced lighting reduces shadows that can make steps and edges harder to see. Add warm task lighting and one softer ambient layer so the surface still looks good at night. The bathroom remains elegant while becoming easier to use over time.
Use a Radiant Floor for Everyday Comfort
Radiant heat can make a bathroom remodel feel better every morning. It works best when the remodel plan treats it as architecture, not a late decorative layer. Plan it before tile work and choose zones that warm the main standing areas. Measure clearances around the door swing, vanity drawers, shower glass, and towel bars before choosing the final size. Porcelain, stone, and tile floors all respond well when installed correctly. Use durable finishes that can handle humidity without turning the bathroom into a showroom nobody wants to use. A programmable control should be easy to reach and understand. Natural light should be supported by dimmable fixtures, especially near the mirror. This upgrade is invisible in photos but very noticeable in daily life.
Add a Laundry Hamper Cabinet
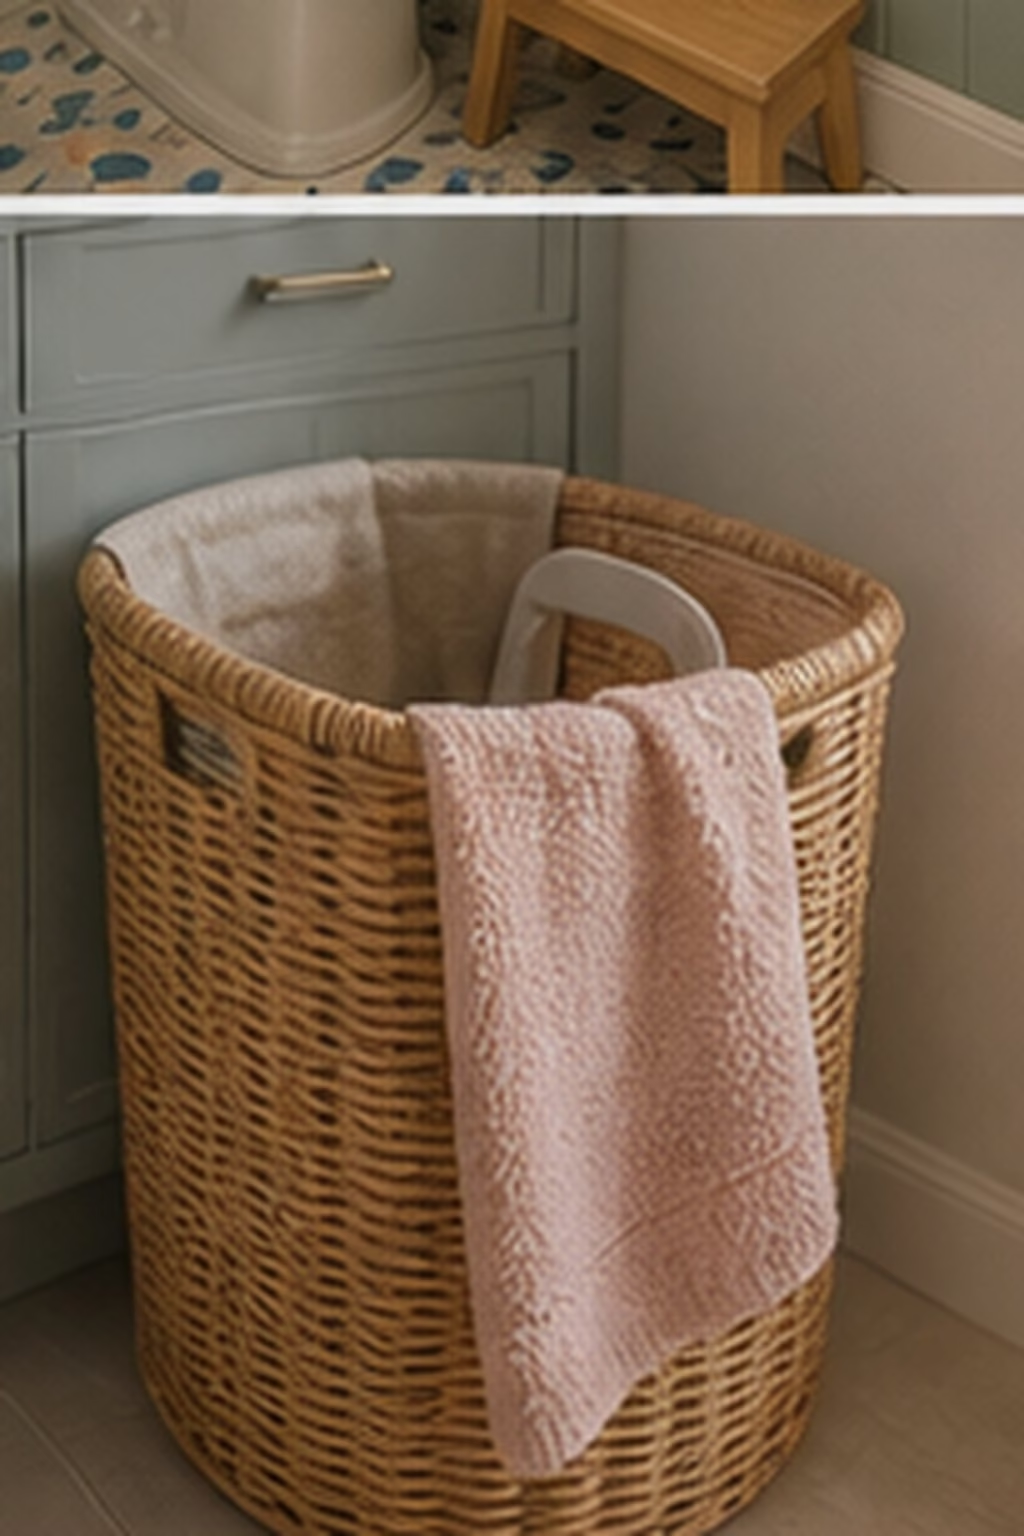
A built-in hamper keeps clothing and towels from collecting on the floor. The smartest version is restrained, practical, and easy to maintain. Place it near the shower or vanity, but not where it blocks drawers or doors. Pair the visual move with hidden storage or a better traffic path so it improves the room after the photo moment is over. Ventilated fronts, removable liners, and easy-clean interiors make it practical. Repeat one material from elsewhere in the bathroom to keep the composition connected. Interior cabinet light can help in a tall storage run. Soft shadows make the texture feel expensive, while harsh overhead light can flatten it. This small storage detail makes the remodel feel more custom and easier to maintain.
Finish With Fewer Better Accessories
The final styling layer should support the remodel, not hide it. Start by deciding where this idea should work hardest: the vanity wall, shower zone, tub area, or storage run. Choose a good soap dispenser, a tray, quality towels, and one natural element instead of many small objects. Keep the finish palette tight so the room feels intentional rather than busy. Use materials that repeat the room palette, such as stone, wood, ceramic, or linen. The detail succeeds when scale, cleaning, and daily use are considered before anything is ordered. Soft light makes simple accessories feel considered. Add warm task lighting and one softer ambient layer so the surface still looks good at night. Leaving counter space empty is what lets the new finishes read clearly.